Roasted Zucchini – My First Major Cooking Failure.

Zucchini_Scored2

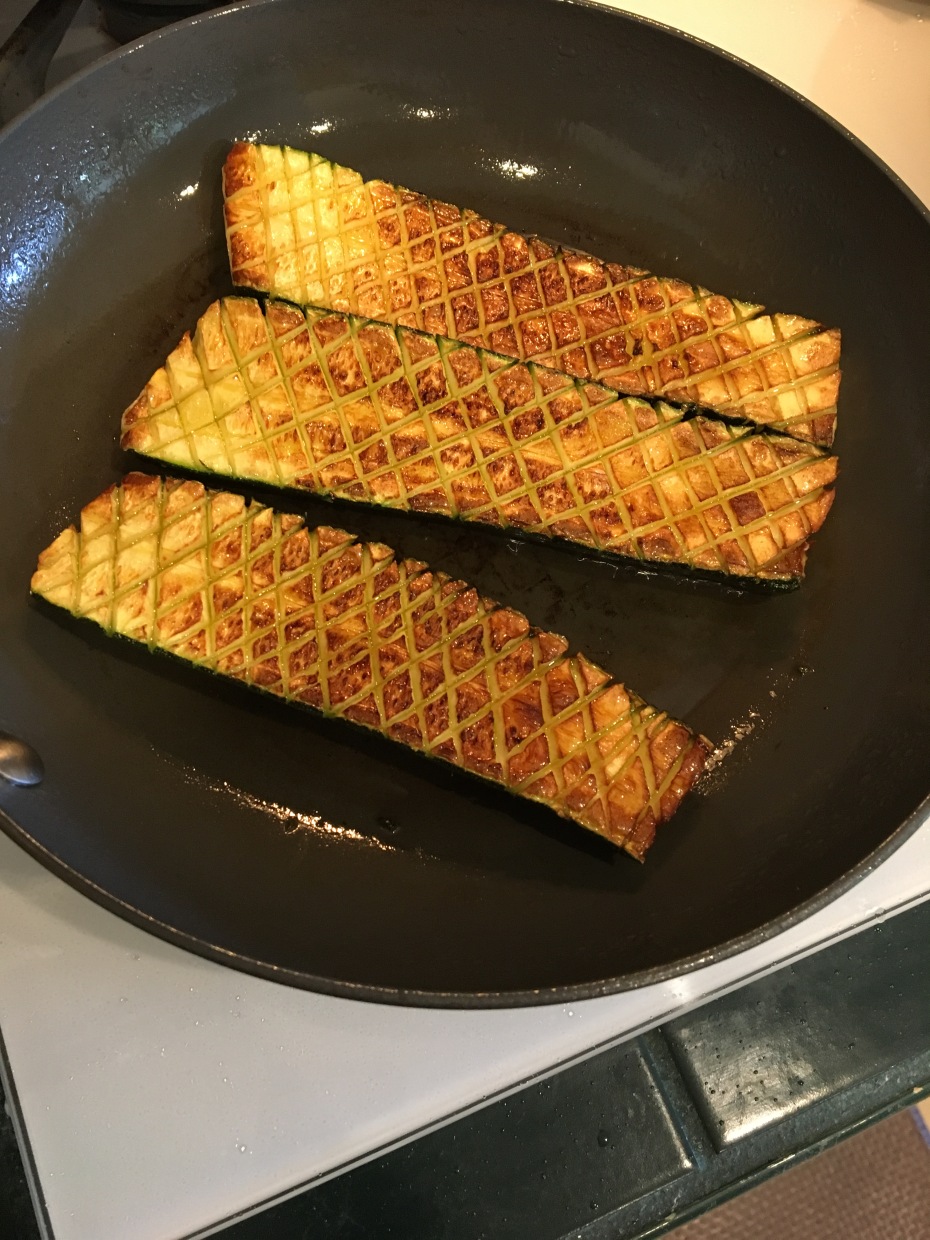
That’s not the finished Zucchini. But that was right before it went into the oven. It was perfect. Then it wasn’t.

I really labored about posting this, as it’s embarrassing, but I figured, what the hell. We’re going for honesty here, and sometimes, that means showing the ugly mistakes as well.

How did I mess up, you may ask?

It was all going PERFECTLY.

Then I trusted the recipe time without checking on the bottom oven, as I was busy cleaning and scrubbing the TOP oven, and I got distracted. Timer went off, and the zucchini was el carbonne.

Zucchini_el_Carbonne

It looks nasty, but it actually was edible. The flesh was soft and creamy, it was just the top that turned out like an overcooked marshmallow. But having enjoyed many overcooked marshmallows as a child, I didn’t really mind it, all things considered.

The recipe called for 25-30 minutes. I should have taken it out after about 15-20 as the zucchini were pretty well done from the pan already, as some were rather small. I also tried to get zucchini that were mostly the same size, but one was quite a bit larger than the other two.

I am usually 100% on point when I’m cooking, and extremely focused on what I’m cooking, and checking it frequently, especially on unknown recipes. But not yesterday. I was extremely disappointed about the outcome.

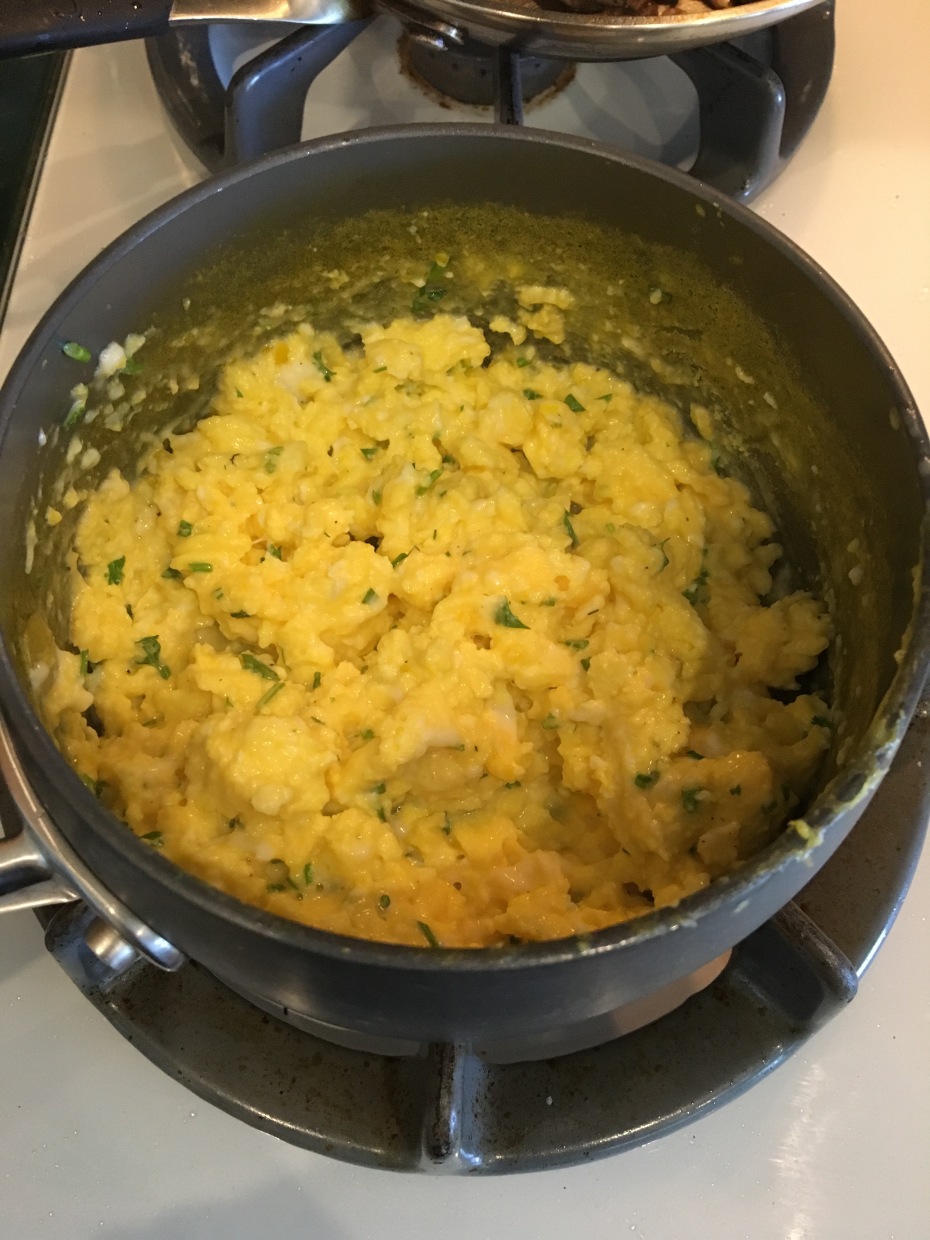
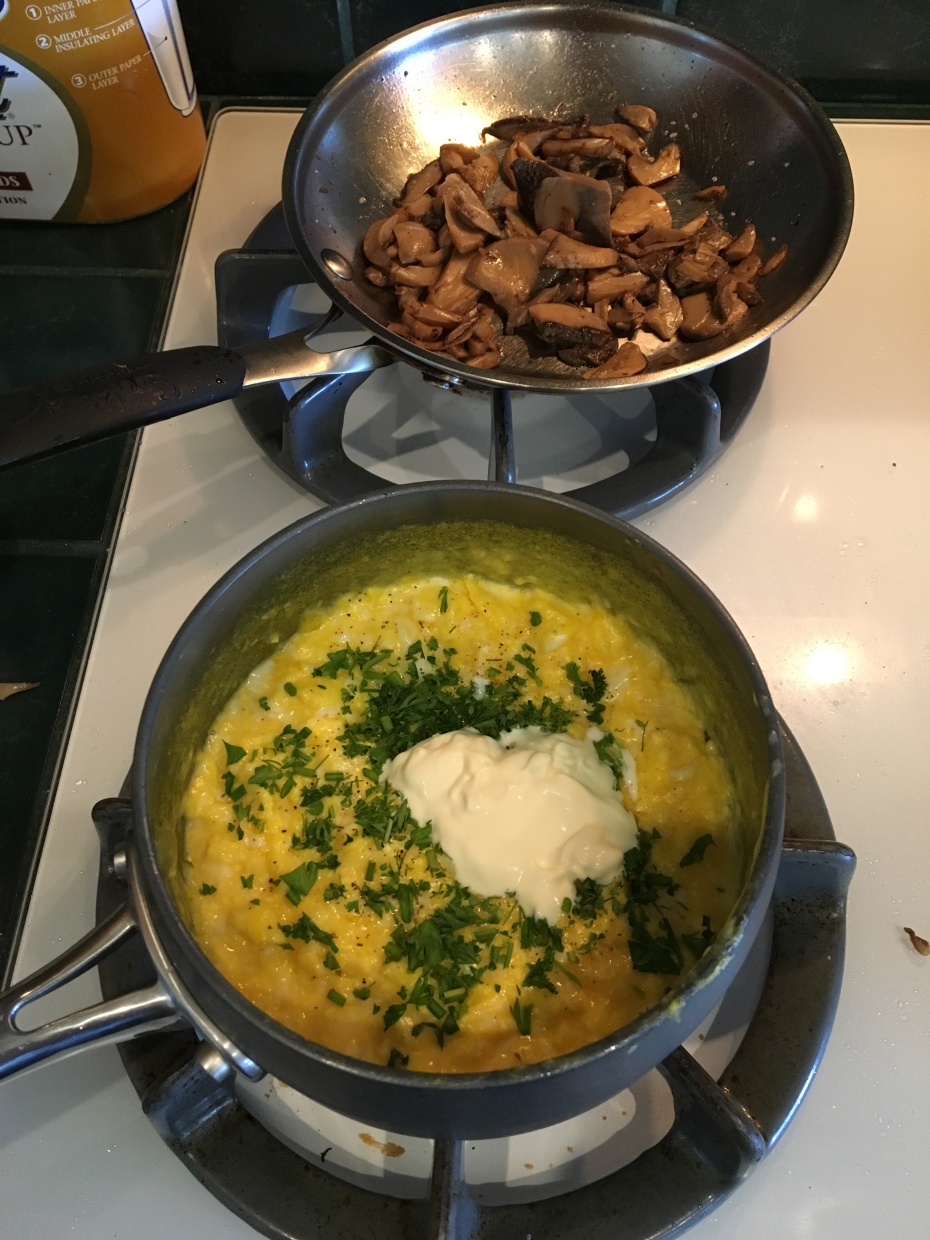
On the other hand I turned this:
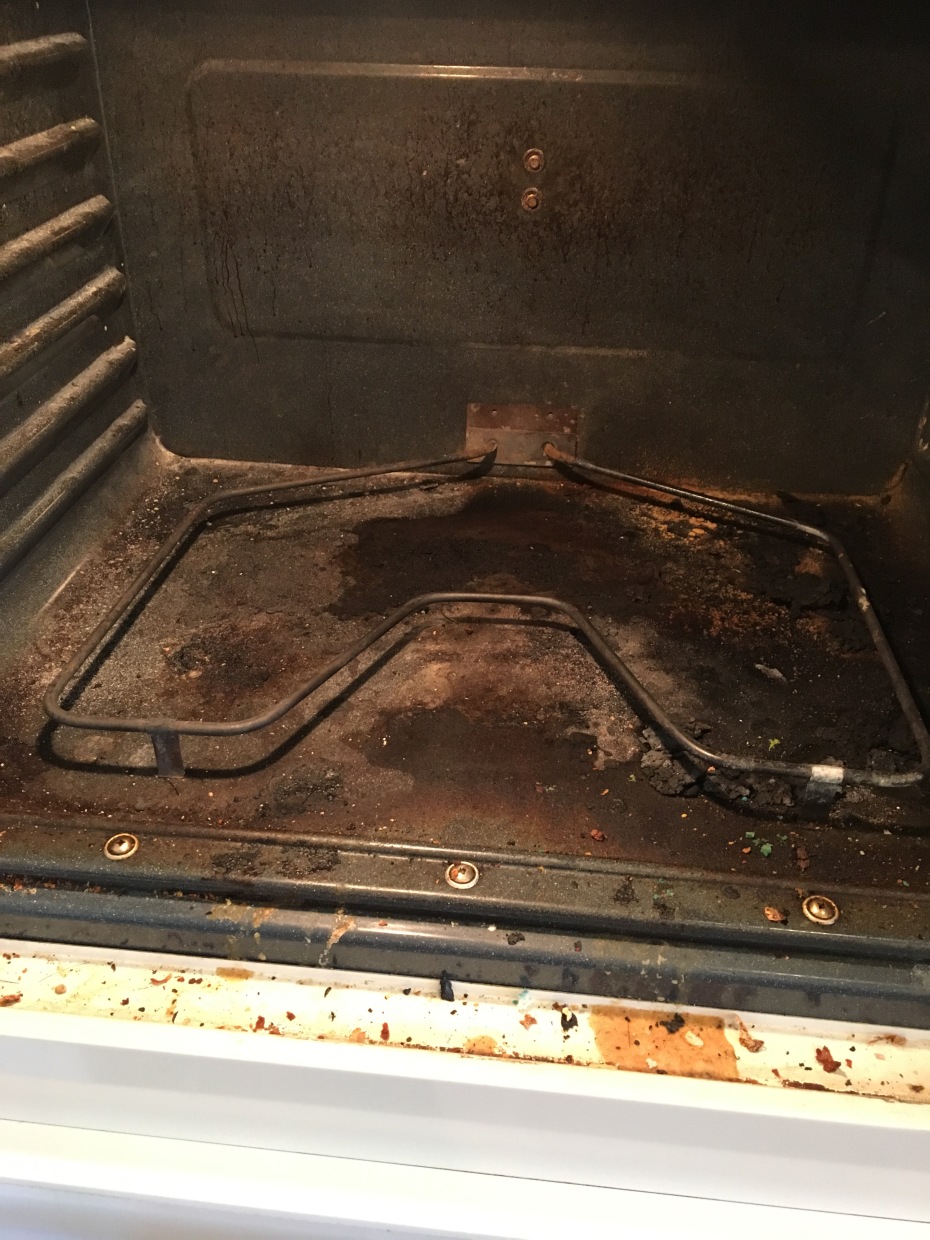
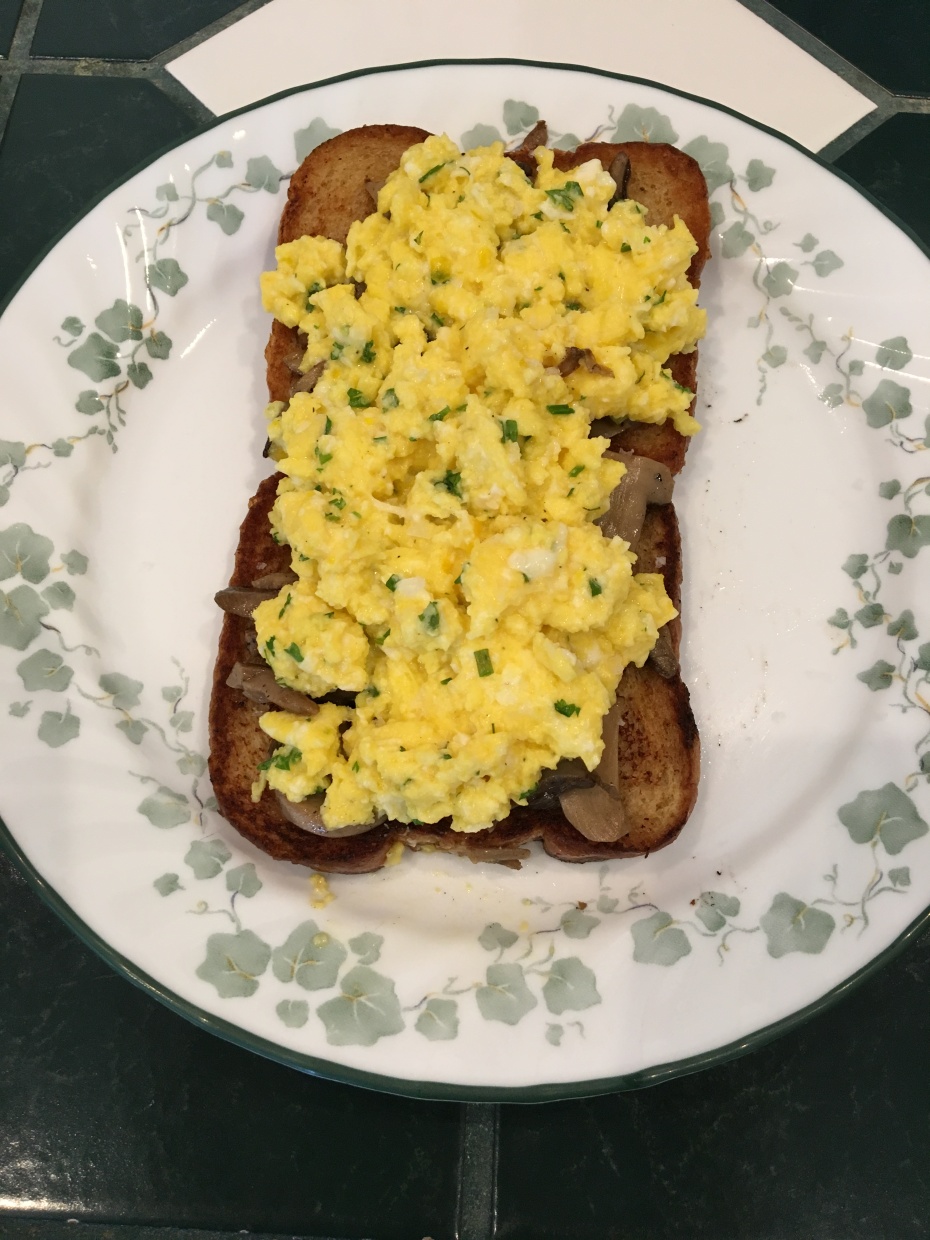
Oven_of_Doom_Dirty

Into this:

Oven_of_Doom_Clean

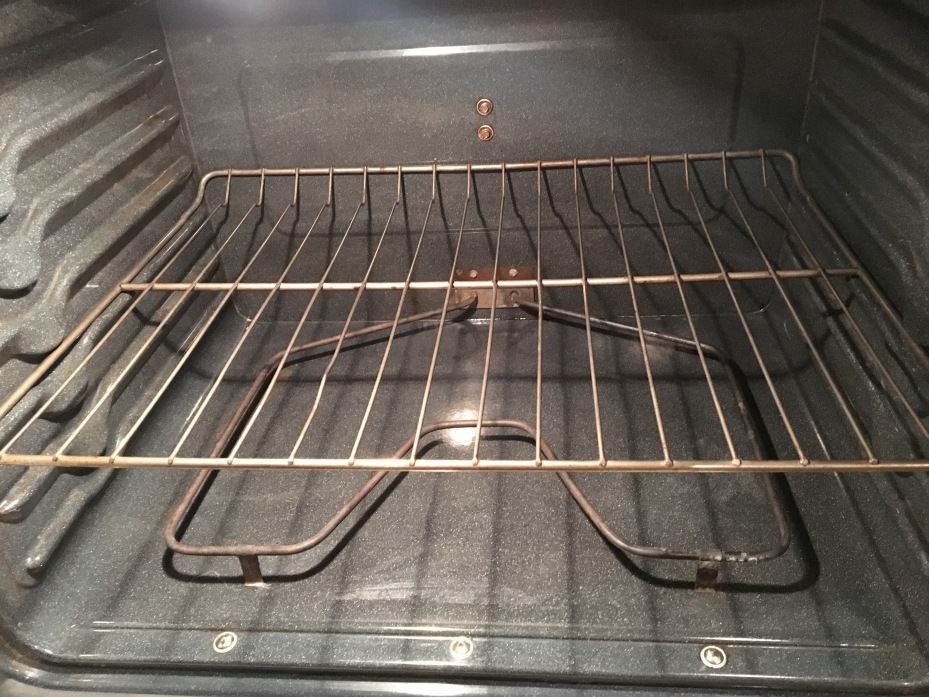
In my defense, it’s not my oven. It’s my house-mates, and apparently nothing has been cooked in the upper double oven for YEARS after they somehow set it on fire. I cleaned it, tested it, and it’s now back to being almost brand new and 100% operational again. It took almost all day, but now we have TWO ovens to cook in.

So follow the recipe below, just watch that sucker like a hawk once you put it into the oven.

Check it for doneness after 15 minutes. You should be able to slide a paring knife into the flesh of the zucchini with no resistance. If it’s still not done, check it again after 5 minutes but watch that oven and do not let it burn.

My zucchini el carbonne was still fairly tasty, and I did eat it all, but was definitely NOT presentable and looked like a dog’s dinner.

Surprisingly enough, even burned it was tastier than most zucchini I’ve had at restaurants and WAY better than the crap in a can.

Recipe:

Oven Roasted Zucchini (or Zucchini el Carbonne if you mess up.)

(From Chef Thomas Keller’s MasterClass)

Ingredients:

3 fresh zucchini. (Try to get all the same size)

Vierge sauce (Tomato concasse, pinch of minced parsley, 5g diced shallots, 15g champagne vinegar, 35g extra virgin olive oil, kosher salt to taste.)

6-8 oz canola oil

Kosher salt

Maldon finshing salt

Equipment:

Cutting board

Chef’s knife

12 inch oven-safe frying pan

Paper towel lined plate

Instructions:

Warm the oven to 450

Heat your pan and oil over high heat until the oil is shimmering.

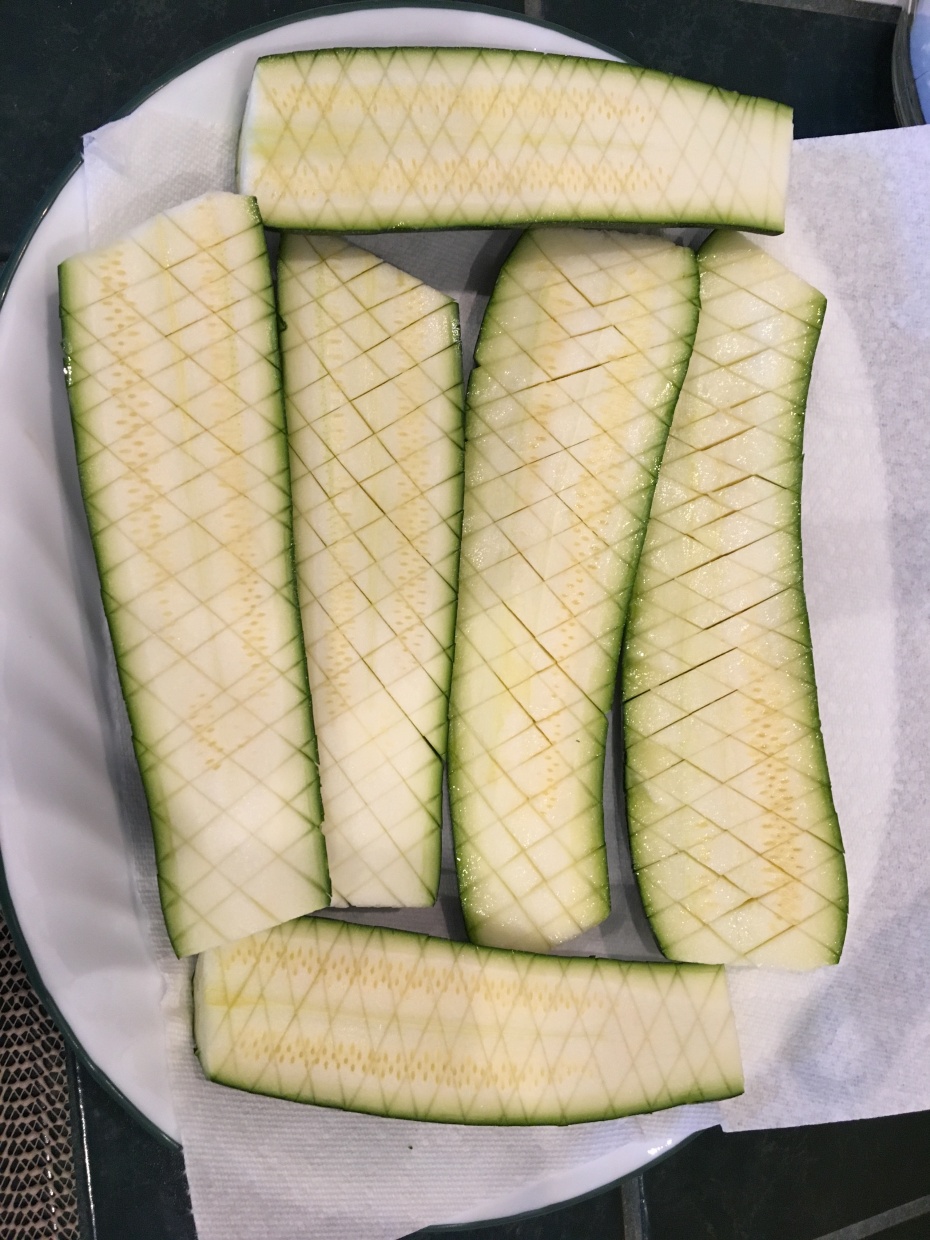
Cut the zucchini in half lengthwise. Try to be as exact as possible. Score the flesh crosshatch, as in the picture below.

Zucchini_Scored1

Evenly salt the zucchini with the kosher salt, lightly dusting it from above and letting the salt rain down on the vegetable. Leave sit for 15 minutes or more.

Pat the zucchini dry.

Sear the zucchini in the pan for about 5 minutes. Adjust the heat and lower if necessary to allow the zucchini to sear without burning.

Once the zucchini look like the below picture…

Zucchini_Scored2

Put them in the oven and roast for 15-20 minutes. Longer if your zucchini are larger, but keep an eye on them or they absolutely will burn. If you see any of the edges start to burn, pull them out of the oven immediately.

Zucchini_Oven

Pull out the zucchini from the oven, arrange on plates or serving platter, spoon over vierge sauce, and finish by sprinkling Maldon over it.

Categories: Cooking, Modern Cooking, Uncategorized | Tags: , , , , | Leave a comment

Homemade Ranch Dressing

Ranch_Finished

This is a recipe I created today using some of the leftover fresh mayonnaise I created the other day. I knew I wasn’t going to use that much mayonnaise, so I had to come up with an alternate use for it.

Then it struck me: Ranch dressing. Yum

Recipe:

Janos’ Homemade Ranch Dressing

Ingredients:

1 cup fresh Mayonnaise

4 tablespoons crème fraîche

Juice from ¼ a fresh lemon

¼ teaspoon garlic powder

Chopped fresh parsley, dill, and chives, equal amounts, about 2 Tablespoons combined total.

Equipment:

1 small bowl

Tablespoon for mixing

Instructions:

Combine the Mayonnaise and crème fraîche in a bowl, and mix thoroughly.

Add the herbs, mix.

Ranch_Mixing

Add the garlic powder, mix.

Lastly, add the fresh lemon juice. Mix. Taste.

Add more garlic powder or lemon juice to taste if you so desire.

Categories: Cooking, Modern Cooking, Uncategorized, Wild Cookery | Tags: , , , , | Leave a comment

Janos’ Non-Elevated Scrambled Eggs.

For those of you in the know, this is a (Severely Bastardized) version of Gordon Ramsay’s ‘Elevated Scrambled Eggs’. (On fried mushrooms and toast in this case.)

Non_Elevated_Eggs_Fin

This bears no resemblance to Gordon’s signature scrambled eggs other than the method used to produce the scramble.

It’s cheap shit wheat bread, with cheap shit canned mushrooms, with cheap shit grocery store ‘fresh’ herbs which have likely been sitting there for a week after being picked. Ingredient wise it’s embarrassing, really. I’m simply sharing it with you here for the METHOD. Ignore the ingredients.

If you really want to make the mushroom version and only have canned mushrooms like I did, you can drain them, fry them in butter, and season them with salt and pepper, then put them on your toast. I make toast in the pan, as I don’t have a toaster. Simply put some butter in the pan on high heat, sear one side, put a little more butter into the pan, sear the other side, voila, toast. Drain any liquid from the mushrooms via a paper towel, and put on toast.

Non_Elevated_Eggs3.jpg

Also, unfortunately my ‘non-stick’ pan is a VERY stick pan. It worked for about 2 weeks and has been worthless ever since. It’s about 12 years old and I badly need a new set of nonstick cookware.

Non_Elevated_Eggs2

However the crème fraîche is home made only as of a few days ago, and I added a light sprinkle of Maldon finishing salt that the original recipe didn’t call for.

It’s the only thing I had on hand, was starving, but I wanted to try and practice Gordon’s scrambled egg method, so I figured what the hell. It came out quite tasty, all things considered. If it’s this good using the crappy ingredients I used, it must be beyond amazing using quality ingredients.

I’m interested in trying this recipe with some real Brioche, and perhaps some white truffle oil.

Were I home in PA, the fresh wild mushrooms would not be a problem. Here, I can’t find them locally and purchasing them would be extremely cost prohibitive. Perhaps fresh non-wild mushrooms may be the next best thing.

Recipe is below

Janos’ Non-Elevated Scrambled Eggs.

Ingredients:

5 eggs

2 tablespoons butter

1 teaspoon crème fraîche

1 teaspoon chopped fresh chives (I used a mix of parsley, dill, and chives that I had left over from omelets, it worked great.)

Kosher salt

Black pepper (freshly ground)

Maldon finishing salt (optional)

Equipment:

Small Non stick saucepan

Heat safe rubber spatula

Instructions:

Crack eggs one at a time separately into a small bowl, so as to make it easy to get out any eggshells if you happen to get a piece in your eggs, then pout into your unheated pan.

Add the butter.

Turn the pan on to medium heat.

Constantly stir with rubber spatula, scraping down the bottom and sides of the pan.

You will have them on the heat for 90 seconds, off the heat for 20. Repeat as needed.

You want the eggs soft but not runny.

As soon as they are soft, add in crème fraîche, chives, salt and pepper directly into pan and fold.

Non_Elevated_Eggs1

Remove from heat and plate immediately.

Sprinkle with Maldon finishing salt if you like.

Non_Elevated_Eggs_Fin2

It isn’t pretty, but it did come out delicious.

Categories: Cooking, Modern Cooking, Mushrooms, Uncategorized | Tags: , , , | Leave a comment

Crème Fraîche

Creme Fraiche 3

Many of you may be saying “What the heck is crème fraîche?” (Pronounced: ‘Krem fresh’)

I’m glad you asked. If sour cream had a sexier, less sour, more amazing twin that was better at almost everything, it would be crème fraîche.

If you don’t care for sour cream, you may still like crème fraiche. I don’t much care for sour cream, but find crème fraîche to be delicious.

It’s also used in omelets and scrambled eggs and many other things to an amazing effect.

The simple recipe is below

Crème Fraîche

Ingredients:

16 oz heavy whipping cream

1 oz buttermilk

Equipment:

Wooden spoon

Glass jar with a screw on lid to store crème fraîche in.

A coffee filter

A rubber band

A cool, dark place.

Instructions:

Pour the whipping cream into a glass jar with a lid large enough to hold 17 oz of liquid with a bit of space on the top so that you can get the wooden spoon in there.

Pour in the buttermilk on top of the whipping cream in the glass jar, and stir gently, but thoroughly.

Place the coffee filter over top the jar, and secure with the rubber band.

Creme Fraiche 1

Put in a cool dark place for a full 24 hours.

After 24 hours your crème fraîche is ready to rock.

Remove the coffee filter and rubber band, and taste the crème fraîche with a spoon to sample the awesomness you’ve just created.

Creme Fraiche 2

Screw on the lid and store in your refrigerator.

Sources and opinions vary, but you should be able to store it for at least a few weeks, refrigerated.

Categories: Food Health, Food Storage, Modern Cooking, Organic, Uncategorized | Tags: , , | 1 Comment

Fresh Hand Whisked Mayonnaise

Finished_Mayo

Today was the first day I attempted mayonnaise. It came out what looked to be perfect. It made great peaks, it tasted fantastic. We put little dollops on our soft boiled eggs, and sprinkled a tiny bit of Maldon finishing salt over it all, and it was heavenly.

Softboiled_Eggs_Mayo

However, by the time we finished breakfast, our mayonnaise looked like this:

Broken_Mayo

I knew there had to be a way to fix it, and sure enough, one way to do it is to start over with 1 tablespoon of water, dribbling in a little bit of the broken mayonnaise at a time and re-whisking it, adding water as needed once it gets too viscous. It worked.

You can see here the broken mayonnaise on the left spoon vs the fixed on the right.

Broken_vs_Fixed_Mayo

An hour later at room temp the mayonnaise has not budged in it’s form, so I stirred it, and put it in a container in the fridge. Another hour in the fridge, and it’s still good to go.

Time will tell whether it decides to break down again or not, but so far so good.

If it does break down again, I’ll repeat the process until it stays together.

I used an egg yolk, ‘Plochman’s Original Stoneground Dijon Mustard’, water, white wine vinegar, canola oil, lemon juice from fresh lemons from our lemon tree, and kosher salt.

The basic recipe is below, and is Chef Thomas Keller’s recipe:

Fresh Hand Whisked Mayonnaise

Ingredients:

1 Egg Yolk
Dijon Mustard – 5 grams
White Wine Vinegar – 7 grams
Lemon Juice – 7 grams
Canola Oil – 350 grams (Any neutral flavored plant based oil will work, I used canola)
Water – Several tablespoons. Just get a small bowl and put a tablespoon in it, use as needed once it gets thick.

Equipment:

Mixing bowl
Whisk
Damp kitchen towel
Spatula
Cutting board
Paring knife
Glass jar to store Mayonnaise in.

Instructions:

You will be whisking constantly in this recipe, but the end product is well worth the effort.
Dampen the kitchen town, wring it out, then fold it over into a triangle and roll it into a turban shape. Form a crown around the bottom of the mixing bowl to stabilize it.

Turban_Towel

Whisk the yolk in the mixing bowl, then add and whisk the dijon mustard into it. The dijon mustard helps with emulsification. Continue whisking with your dominant hand as you S L O W L Y whisk in oil. I put mine in a condiment squirt bottle, and it works great. As the mayonnaise starts to thicken add a tablespoon of water. Keep whisking and add the vinegar and the lemon juice. Keep slowly adding oil.

If the mayonnaise breaks aka separates and turns into runny goop, the oil has overwhelmed the yolk’s ability to bind it, and you can do one of two things.

1.) Add more mustard to help it re-emulsify. (This will also make it more mustardy tasting.)
2.) Start in an empty mixing bowl with 1 tablespoon of water and whisk the broken mayonnaise into the water a drop at a time until it re-emulsifies, then slowly mix it back in about 1 tablespoon at a time, adding more water, also 1 tablespoon at a time, whenever it gets too thick and harder to whisk.

I didn’t want it more mustardy and so I chose option #2, and so far so good, it’s holding after an hour+ at room temp and the first time it broke completely after about 15 minutes.

Keep whisking and adding oil until you get to the viscosity you want and see peaks form. Taste and add salt and lemon juice a little at a time to your own personal taste.

Mayo_1

Trust me when I say this: Leave it in the mixing bowl for half an hour at room temp. Then come back to it. It’ll be easier to fix if you don’t have to take it out of a jar and put it BACK into the mixing bowl.
If it holds after 30+ minutes, you should be good to go to put it into the glass jar to store it in the fridge.

In hindsight, I think the coarse mustard may have been the source of my emulsification issues, vs a much smoother mustard with more actual ground mustard in it. I will note this and use regular dijon mustard next time.

Plochmans Mustard 2

Categories: Education, Modern Cooking, Organic, Uncategorized | Tags: , , , , | 1 Comment

Wild Cookery 4.0: The Rebranding


The name remains the same, but the purpose and content shall be very different from here on out.

Wild Cookery shall refocus more on cooking in all it’s forms, and not just using foraged cooking ingredients.

A large reason for this, is since moving to my present location, it’s extremely difficult to locate even basic forageables to use, and thus my main daily cooking has shifted away from that into more ‘conventional’ cooking.

The good news is, you’ll be in for some of the best cooking techniques and recipes of your life, as you join me in my journey of Epicurean delights.

We’ll be working with a few basics to start with, and moving onto a few more complex things later on, as well as using tools of refinement.

However, in my opinion, even the basics have been vastly overlooked by the majority of people.

For example, I’d been taught to make hard boiled eggs a certain way by my parents and had been overcooking them for 35 years, and thus did not care for them. The ones I made yesterday and today would blow your socks off.

Hardboiled_Perfect.jpg

Sometime in the future, I’ll likely do a few more Wild Cookery videos and share some fun recipes.

You should still strive to get the best food that you can. Sometimes this means Organic. Sometimes this means NOT Organic. It all depends on if you know the source of the food. Some people produce perfectly organic food and have for generations but simply haven’t gone through the rigmarole of being ‘certified’

Know your source, and you can make wise and informed decisions about the food you prepare for yourself and your family.

More to come soon!

As always, I can be reached at Wildcookery@yahoo.com

Categories: Modern Cooking, Organic, Uncategorized, Wild Cookery | Tags: , , , , | Leave a comment

Brined Pork Roast and Mashed Potatoes

I’m currently taking Thomas Keller’s MasterClass on cooking techniques.

Even though it’s not technically ‘wild’ cookery, I figured I’d share some of the excellent tips, tricks, and dishes that I’ve made, and will be making here.

The first one is not in the MasterClass and is something I whipped up myself after scouring the net on a ‘how to’ properly brine a pork roast. After sifting through a bunch of garbage, I found a simple way that works, which I’ll be sharing with you below.

Tonight’s supper:

Brined_Porkroast_Potatoes.jpg

Brined Pork Roast and Mashed Potatoes. Reviews: “Succulent.” “Delicious!” “The best pork I’ve ever had!” And my favorite from my daughter: “Even better than the eggplant and garlic confit!” High praise, as that was her favorite dish ever before this. 😀

Everyone has their own way of doing this, this is what works for me. Feel free to adjust any recipe to your own preferences, as they are general guidelines only.

Everyone can figure out the mashed potatoes part with a simple internet search, so I’m just going to roll with the brined pork.

You will need:

(Brine stage)

A pork roast

1 gallon of cold water

1 dry measure cup of kosher salt

A big fricking mixing bowl and lid/plate to cover it. OR Aluminum foil.

A wooden spoon

Instructions:

This is going to brine for ten (10!) hours. Plan accordingly.

Pour the gallon of cold water into the mixing bowl, then dump the cup of kosher salt into it.

Stir until it’s 100% dissolved. If you have a kid who likes to help you cook, they’re great for this whilst you do other prep. Just have them stir SLOWLY.

Take something slim and pokey (a meat thermometer works great for this) and perforate the hell out of your pork roast on all sides, penetrating at least halfway though the meat. If you don’t have at least 50 holes on each main side of the roast, you aren’t trying hard enough.

Cover the top with lid/plate/aluminum foil.

Wait 10 hours. If you eat supper at 5 PM, yer gonna want to brine this about 6 AM.

You’ll need that extra hour for other prep.

(Cooking stage)

A 10” skillet or frying pan

Canola oil

Kosher salt

Cracked black pepper.

A roasting pan and roasting rack (A cookie sheet and cooling rack inside the cookie sheet work great for this!)

Preheat the oven to 350 degrees Fahrenheit/177 degrees Celsius.

Coat the bottom of your frying pan in a thin layer of canola oil, and set to medium high.

Heat until the oil reaches the smoke point.

Put some paper towels down on a cutting board.

Pull the roast out of the brine, rise thoroughly in cold water, then place on the paper towels, and pat dry with other paper towels. Move the roast to a plate to stage it, and replace the now soaked paper towels on the cutting board with new ones, and replace the roast on the cutting board on the new paper towels.

Let the roast set for 1 hour to come to room temperature. This is VERY important for even cooking and no weird under cooked spots in your roast.

(1 hour passes…)

Remove the paper towels from the roast, pat dry again with a new paper towel.

BPP_Set.jpg

Place the roast directly on the cutting board and season lightly with a dusting of kosher salt and cracked black pepper.

By now your oil should be hot and almost smoking.

Carefully put the roast into the pan and sear it. This will only take a few minutes. Flip it over and sear the other side.

(Searing the meat will lock in some of the moisture when you roast it, as well as make a lovely outer finish on the roast.)

When it’s seared, move the roast from the frying pan/skillet into the roasting pan and then into the oven it goes.

Depending on the size of the roast, you’ll need to adjust the cooking time.

The FDA changed their pork safety guidelines quite a few years ago from 160 to 145. I typically cook it to 150, though that may be more than necessary. It’s lovely at 135 too.

We’ve all been eating overcooked tough pork all our lives, and it’s such a wonderful meat when properly prepared.

I made two roasts and one was significantly smaller than the other. The smaller was done at 35 minutes, the larger at about 50 minutes, with an internal temp of 150. Be sure to stick the thermometer into the largest portion of the meat.

BPP_Done.jpg

It’s pink, and it’s supposed to be! It’s also tender, juicy, and delicious. As long as your meat thermometer read 145 degrees, you are 100% safe. Enjoy pork as it was meant to be enjoyed… juicy and delicious.

Plate and enjoy!

Or, if you’re like my daughter, have fun with your pork and potatoes!

BPP_Skull.jpg

More to come soon!

As always, I can be reached at Wildcookery@yahoo.com

Categories: How To, Modern Cooking, Recipes, Uncategorized, Wild Cookery | Tags: , , , , | Leave a comment

Just Peachy

We had a lovely 4th of July. We went over to the inlaws for the day, and Dad bought some fireworks. The kiddos were very excited and insisted on picking out which one was to be shot off next.

An old family friend of theirs, a lady from Gambia stopped over for the celebration and to watch the fireworks.

She has fruit trees at her house and brought us something I hadn’t had in over 20 years… fresh, off the tree PEACHES!

Peach

The kind lady also extended the invitation that I could go over and pick some more off of the tree, if I so desired. If I can find a way to store them in my extremely limited storage space, I may take her up on the offer, as they are quite delicious.

Huzzah for peaches!

Categories: Uncategorized, Wild Cookery | Tags: , , , , , | Leave a comment

Another year, another beer.

That would be nice, actually. Mmm… beer…

Not very good for you, but damn if good beer isn’t an awesome thing.

Well, again, a very long time has lapsed since my last post on this blog.

I’d pretty much given it up for dead, with the lack of actual foraging that I’ve been doing, or rather, not doing, over the past year or so.

Due to unforeseen circumstances I’m no longer in my little green garden of foraging goodness, and local foraging areas are incredibly inaccessible to me at the moment.

Seeing has how it’s been so long since I’ve posted or had an actual following of fellow foragers, I don’t expect anyone to really read and/or comment upon this, but it’s more as a cathartic for myself to type my thoughts down and be able to reread them at a later time for reflection and to track my own progress.

Categories: Primal/Paleo, Uncategorized, Wild Cookery | Tags: , , , , | 1 Comment

Wild Muther****in’ Cookery, B****es!

Why hello there foragers, friends, and fiends!

‘Tis been an awful long time since I posted anything in this blog. Not been doing much foraging with 3 feet of snow on the ground.

It’s been the most god-awful winter I can remember in almost 40 years. Brutal, horrible, and nigh-neverending.

I absolutely cannot wait for it to be over and for the Spring thaw to finally take effect. Though I’m not looking forward to the flooding, that’s for sure.

Let’s take a look at my garden…

Winter2

Hmm… yea, that sucks.

Winter1

So does that. Ok, no green stuff for me any time soon.

But… today is the 1st of March. This goram winter can’t last forever!

And when Jack Frost finally stumbles and the first shoots of spring pop up, I will be there to collect and nom them!

Wintercress and Wild Garlic will be amongst the first to pop up. Along with Dandelions and Garlic Mustard.

Just thinking about it makes my stomach growl. I’ve been resigned to a diet of ‘people’ food this winter, and let me tell you, there’s nothing worse for someone who’s used to eating wild. I’ve gained weight and feel like crap.

Time for a Spring diet of real food soon, methinks.

I hope all of ye are having a pleasant end of winter, and I certainly hope none of ye have to deal with more snow that I do.

All the best!

~Janos

Categories: Education, Foraging | Tags: , , , , , , | Leave a comment