Posts Tagged With: Cooking

Crème Fraîche

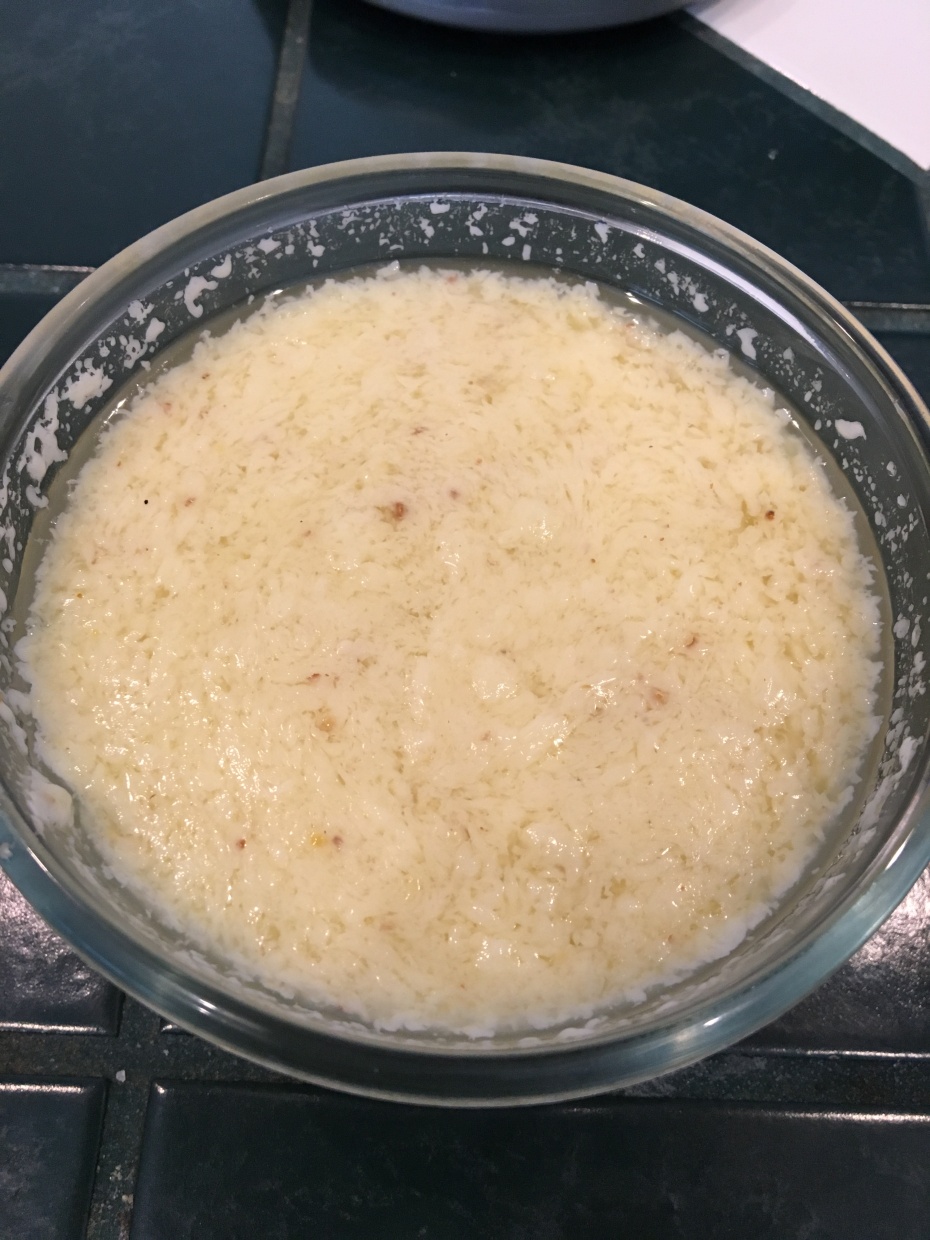
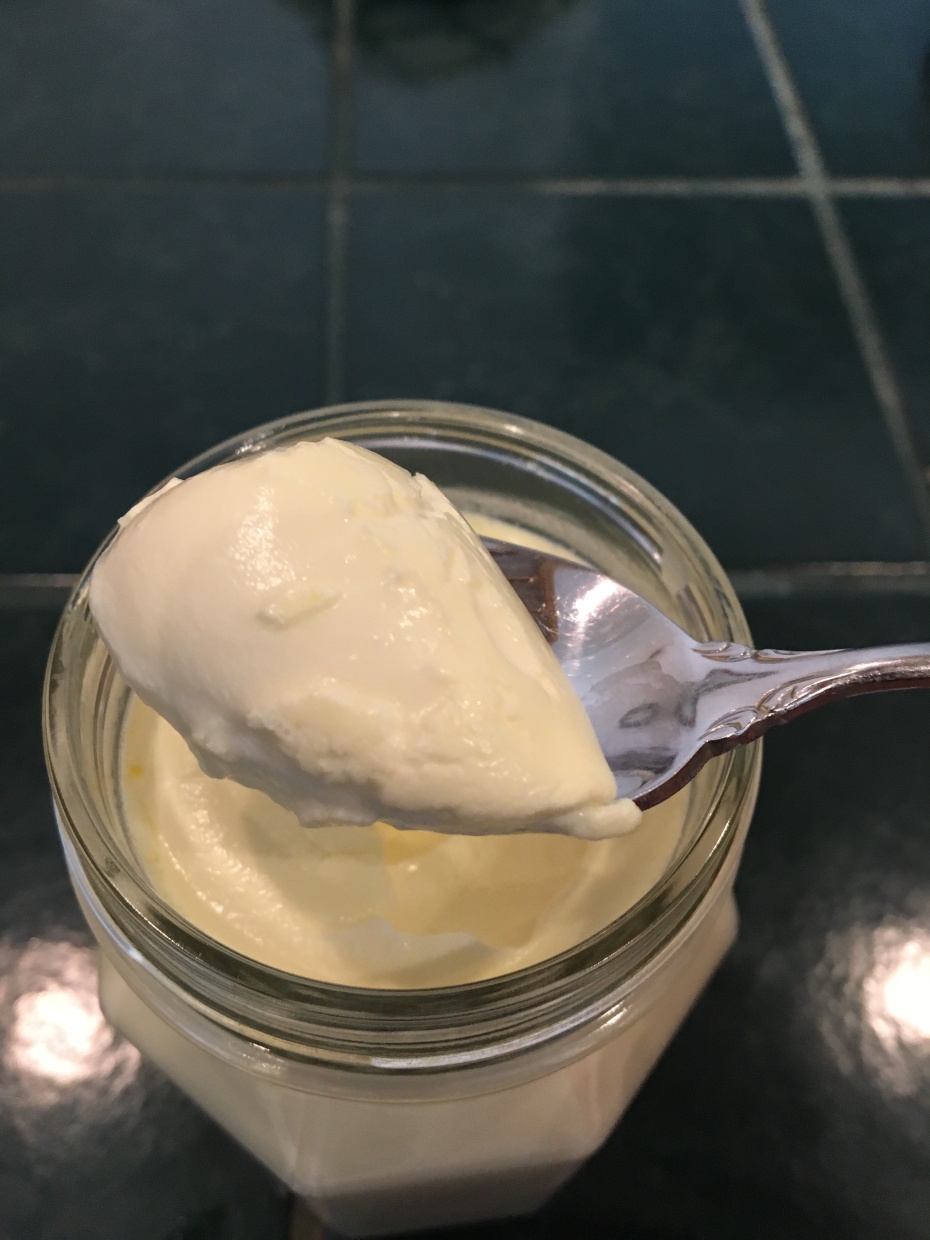
Creme Fraiche 3

Many of you may be saying “What the heck is crème fraîche?” (Pronounced: ‘Krem fresh’)

I’m glad you asked. If sour cream had a sexier, less sour, more amazing twin that was better at almost everything, it would be crème fraîche.

If you don’t care for sour cream, you may still like crème fraiche. I don’t much care for sour cream, but find crème fraîche to be delicious.

It’s also used in omelets and scrambled eggs and many other things to an amazing effect.

The simple recipe is below

Crème Fraîche

Ingredients:

16 oz heavy whipping cream

1 oz buttermilk

Equipment:

Wooden spoon

Glass jar with a screw on lid to store crème fraîche in.

A coffee filter

A rubber band

A cool, dark place.

Instructions:

Pour the whipping cream into a glass jar with a lid large enough to hold 17 oz of liquid with a bit of space on the top so that you can get the wooden spoon in there.

Pour in the buttermilk on top of the whipping cream in the glass jar, and stir gently, but thoroughly.

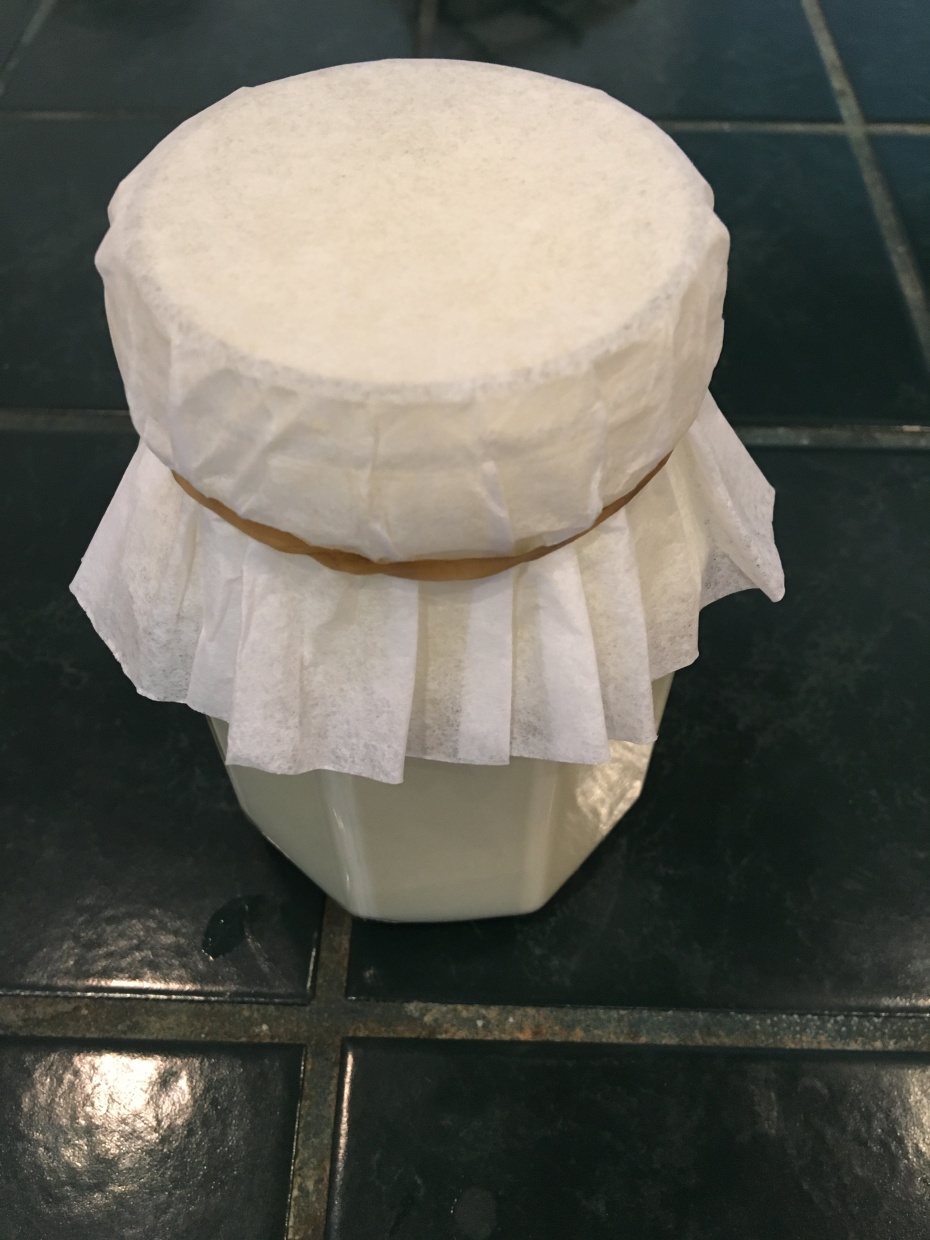
Place the coffee filter over top the jar, and secure with the rubber band.

Creme Fraiche 1

Put in a cool dark place for a full 24 hours.

After 24 hours your crème fraîche is ready to rock.

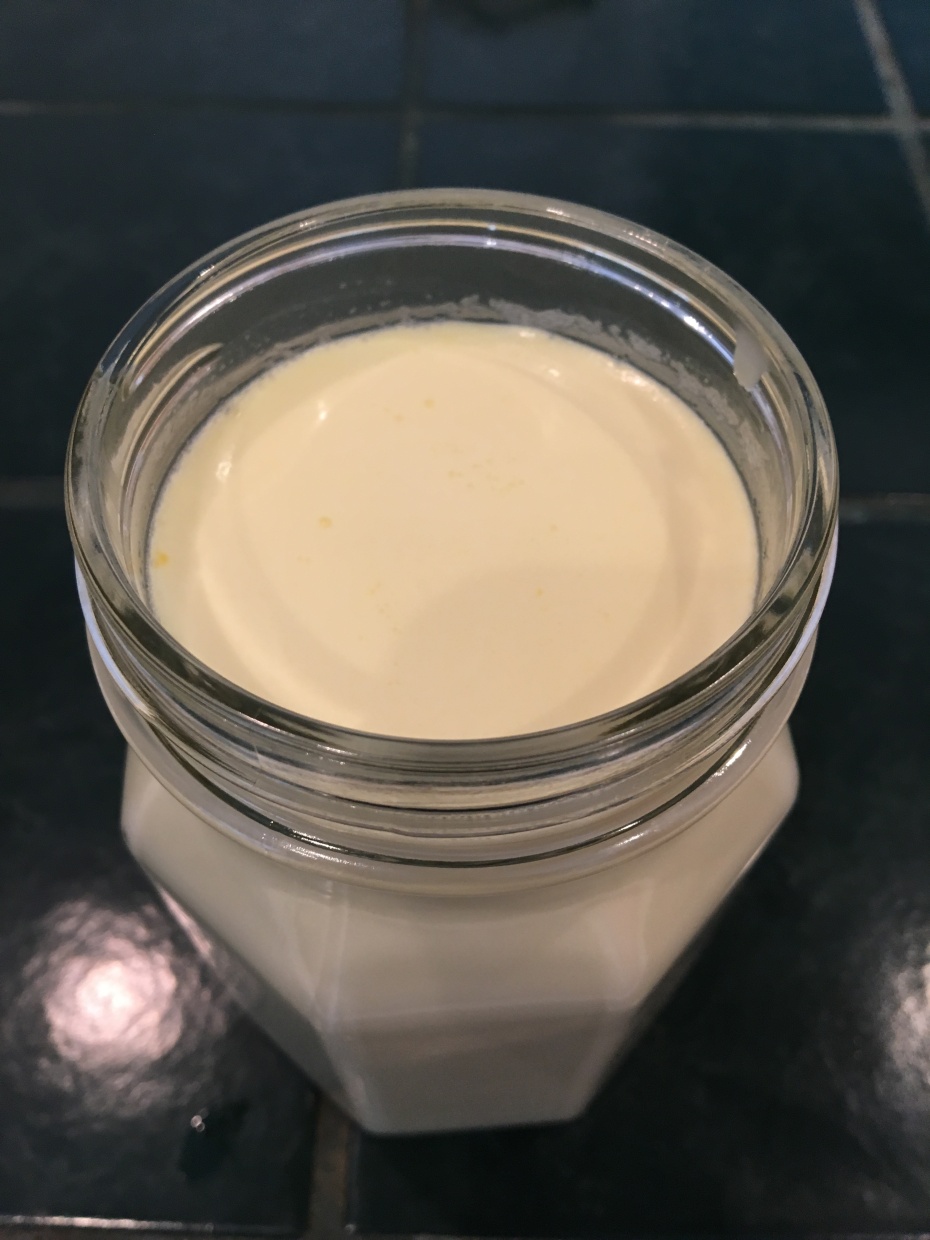
Remove the coffee filter and rubber band, and taste the crème fraîche with a spoon to sample the awesomness you’ve just created.

Creme Fraiche 2

Screw on the lid and store in your refrigerator.

Sources and opinions vary, but you should be able to store it for at least a few weeks, refrigerated.

Categories: Food Health, Food Storage, Modern Cooking, Organic, Uncategorized | Tags: , , | 1 Comment

Fresh Hand Whisked Mayonnaise

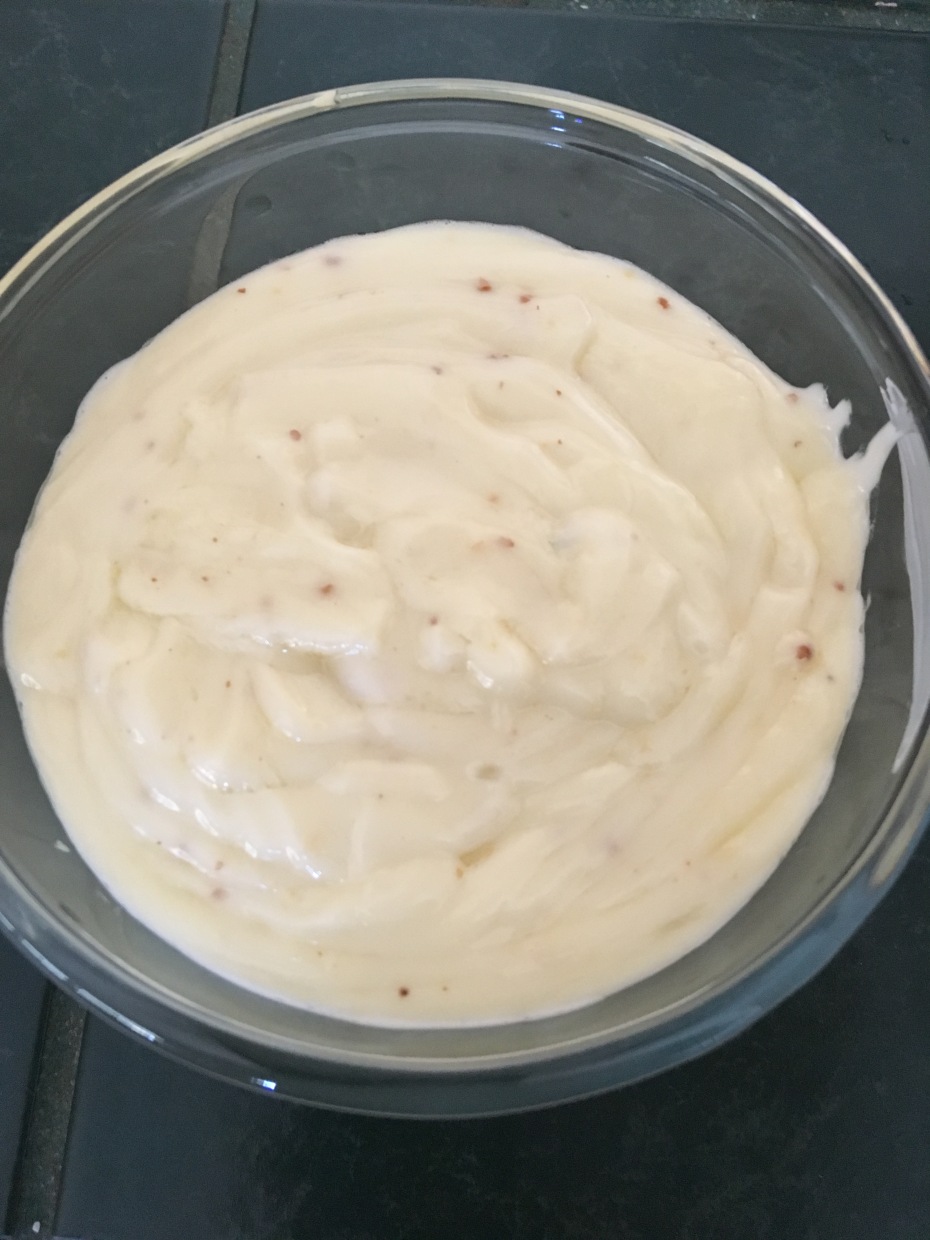
Finished_Mayo

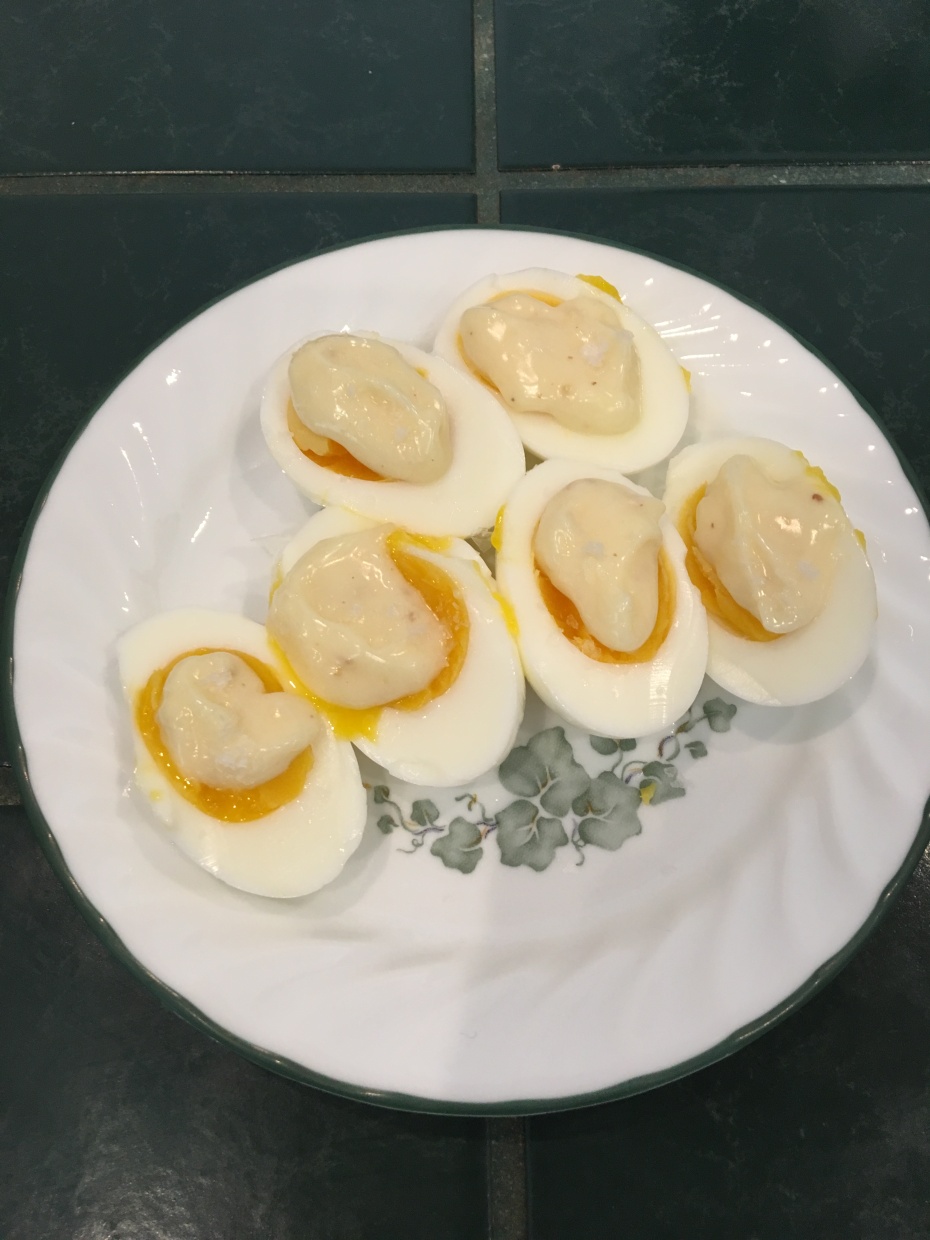
Today was the first day I attempted mayonnaise. It came out what looked to be perfect. It made great peaks, it tasted fantastic. We put little dollops on our soft boiled eggs, and sprinkled a tiny bit of Maldon finishing salt over it all, and it was heavenly.

Softboiled_Eggs_Mayo

However, by the time we finished breakfast, our mayonnaise looked like this:

Broken_Mayo

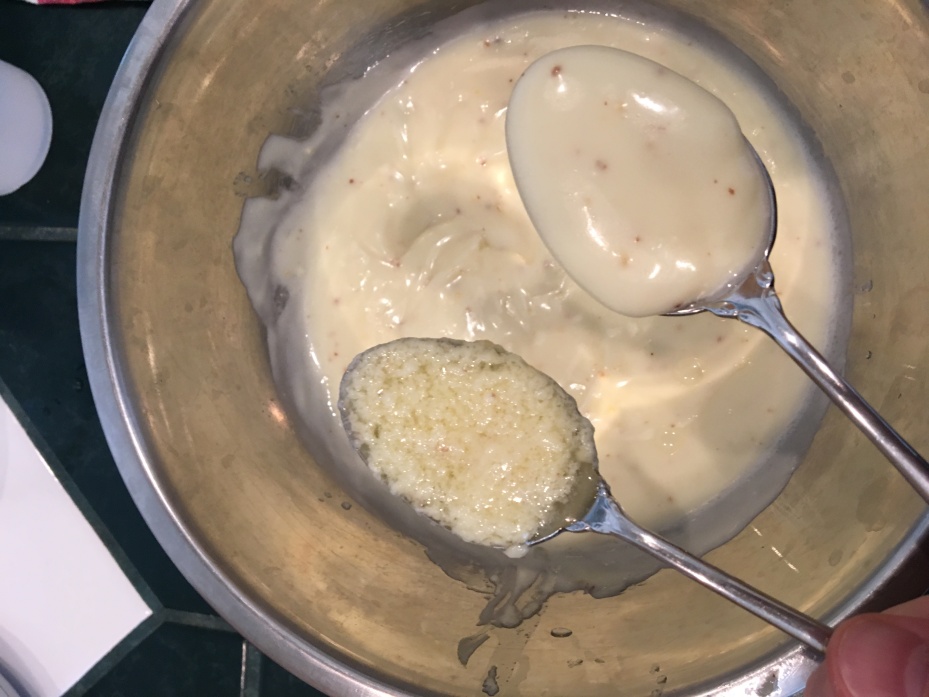
I knew there had to be a way to fix it, and sure enough, one way to do it is to start over with 1 tablespoon of water, dribbling in a little bit of the broken mayonnaise at a time and re-whisking it, adding water as needed once it gets too viscous. It worked.

You can see here the broken mayonnaise on the left spoon vs the fixed on the right.

Broken_vs_Fixed_Mayo

An hour later at room temp the mayonnaise has not budged in it’s form, so I stirred it, and put it in a container in the fridge. Another hour in the fridge, and it’s still good to go.

Time will tell whether it decides to break down again or not, but so far so good.

If it does break down again, I’ll repeat the process until it stays together.

I used an egg yolk, ‘Plochman’s Original Stoneground Dijon Mustard’, water, white wine vinegar, canola oil, lemon juice from fresh lemons from our lemon tree, and kosher salt.

The basic recipe is below, and is Chef Thomas Keller’s recipe:

Fresh Hand Whisked Mayonnaise

Ingredients:

1 Egg Yolk
Dijon Mustard – 5 grams
White Wine Vinegar – 7 grams
Lemon Juice – 7 grams
Canola Oil – 350 grams (Any neutral flavored plant based oil will work, I used canola)
Water – Several tablespoons. Just get a small bowl and put a tablespoon in it, use as needed once it gets thick.

Equipment:

Mixing bowl
Whisk
Damp kitchen towel
Spatula
Cutting board
Paring knife
Glass jar to store Mayonnaise in.

Instructions:

You will be whisking constantly in this recipe, but the end product is well worth the effort.
Dampen the kitchen town, wring it out, then fold it over into a triangle and roll it into a turban shape. Form a crown around the bottom of the mixing bowl to stabilize it.

Turban_Towel

Whisk the yolk in the mixing bowl, then add and whisk the dijon mustard into it. The dijon mustard helps with emulsification. Continue whisking with your dominant hand as you S L O W L Y whisk in oil. I put mine in a condiment squirt bottle, and it works great. As the mayonnaise starts to thicken add a tablespoon of water. Keep whisking and add the vinegar and the lemon juice. Keep slowly adding oil.

If the mayonnaise breaks aka separates and turns into runny goop, the oil has overwhelmed the yolk’s ability to bind it, and you can do one of two things.

1.) Add more mustard to help it re-emulsify. (This will also make it more mustardy tasting.)
2.) Start in an empty mixing bowl with 1 tablespoon of water and whisk the broken mayonnaise into the water a drop at a time until it re-emulsifies, then slowly mix it back in about 1 tablespoon at a time, adding more water, also 1 tablespoon at a time, whenever it gets too thick and harder to whisk.

I didn’t want it more mustardy and so I chose option #2, and so far so good, it’s holding after an hour+ at room temp and the first time it broke completely after about 15 minutes.

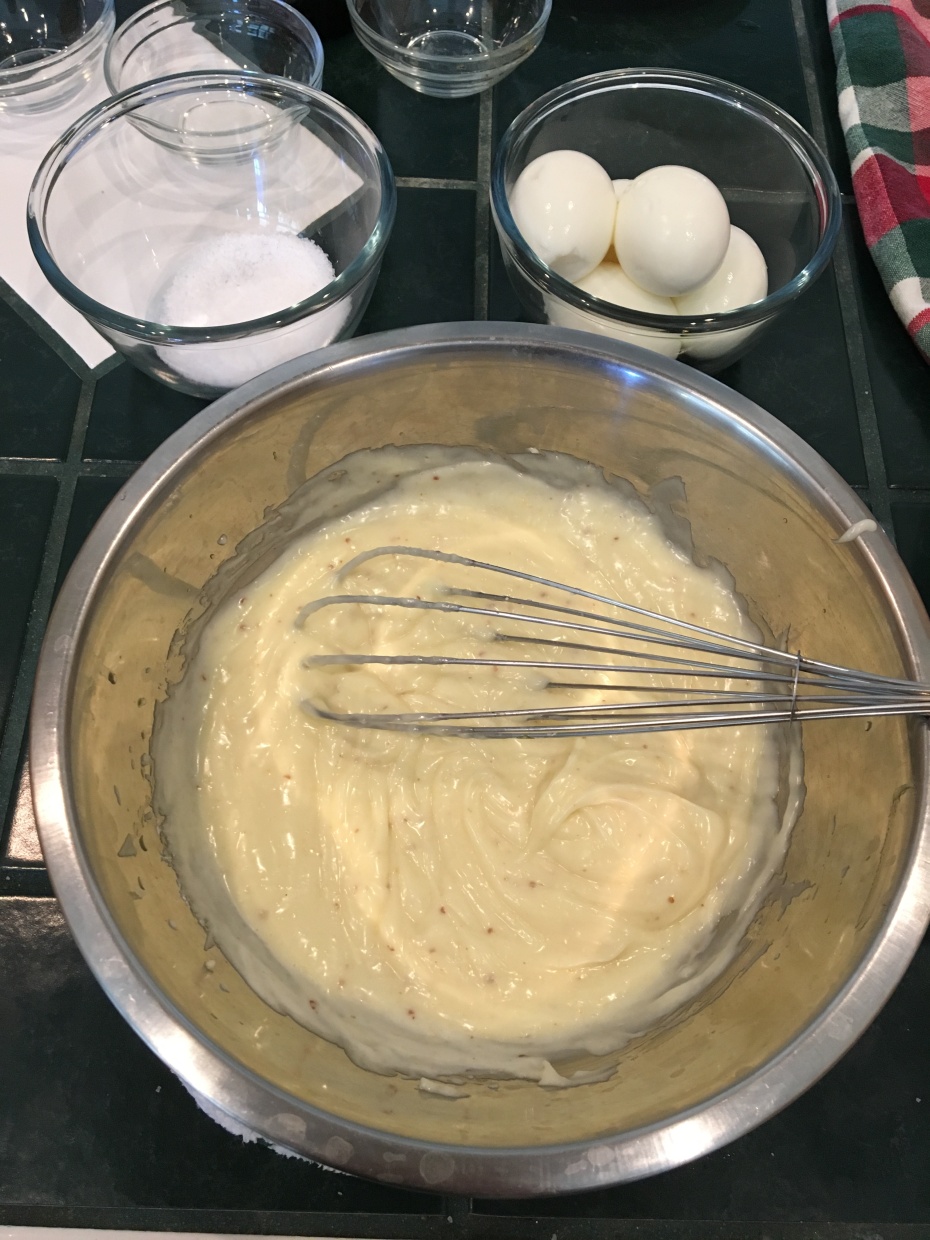
Keep whisking and adding oil until you get to the viscosity you want and see peaks form. Taste and add salt and lemon juice a little at a time to your own personal taste.

Mayo_1

Trust me when I say this: Leave it in the mixing bowl for half an hour at room temp. Then come back to it. It’ll be easier to fix if you don’t have to take it out of a jar and put it BACK into the mixing bowl.
If it holds after 30+ minutes, you should be good to go to put it into the glass jar to store it in the fridge.

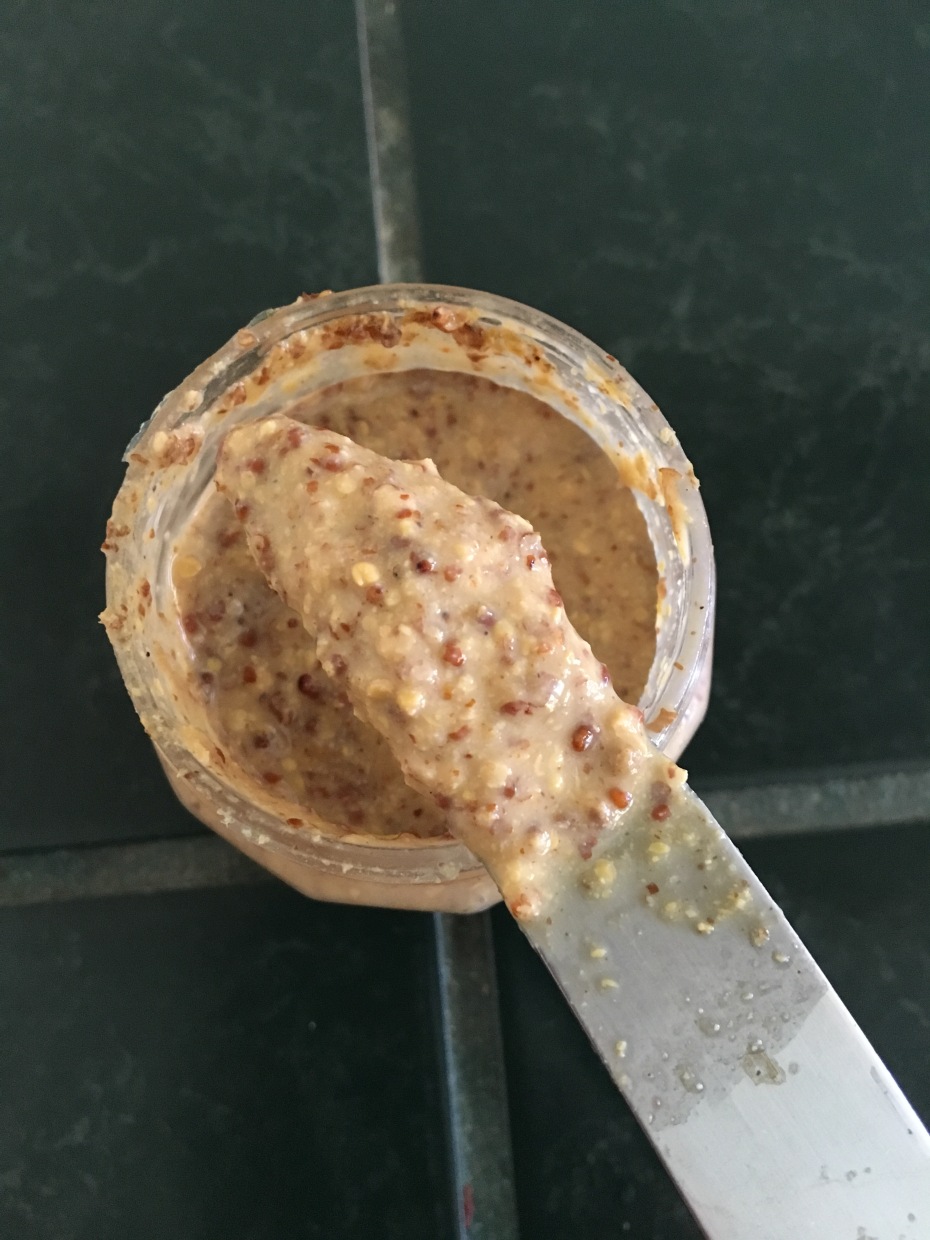
In hindsight, I think the coarse mustard may have been the source of my emulsification issues, vs a much smoother mustard with more actual ground mustard in it. I will note this and use regular dijon mustard next time.

Plochmans Mustard 2

Categories: Education, Modern Cooking, Organic, Uncategorized | Tags: , , , , | 1 Comment

Brined Pork Roast and Mashed Potatoes

I’m currently taking Thomas Keller’s MasterClass on cooking techniques.

Even though it’s not technically ‘wild’ cookery, I figured I’d share some of the excellent tips, tricks, and dishes that I’ve made, and will be making here.

The first one is not in the MasterClass and is something I whipped up myself after scouring the net on a ‘how to’ properly brine a pork roast. After sifting through a bunch of garbage, I found a simple way that works, which I’ll be sharing with you below.

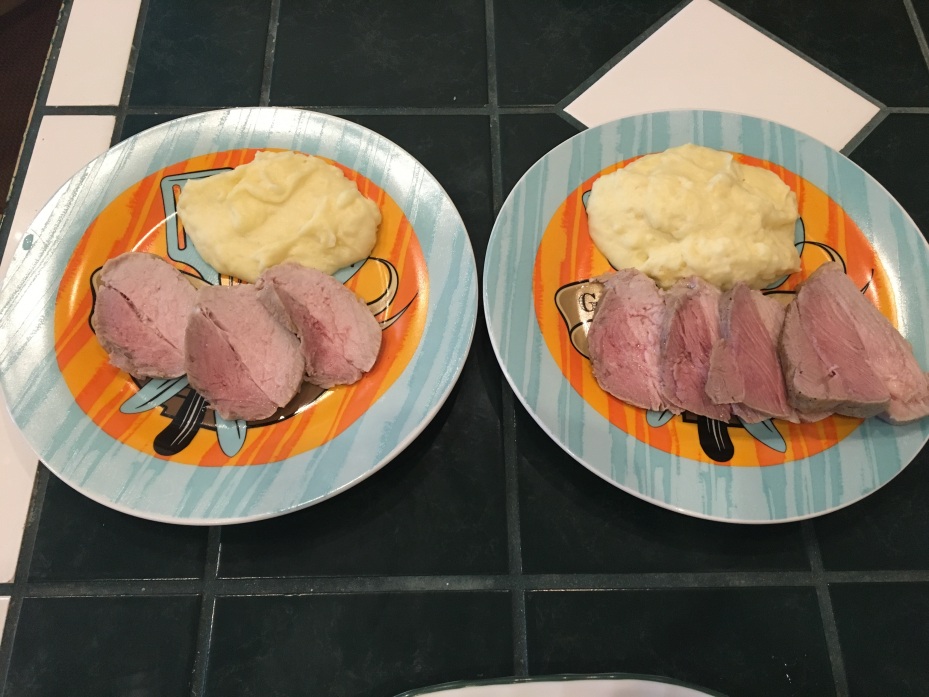
Tonight’s supper:
Brined_Porkroast_Potatoes.jpg

Brined Pork Roast and Mashed Potatoes. Reviews: “Succulent.” “Delicious!” “The best pork I’ve ever had!” And my favorite from my daughter: “Even better than the eggplant and garlic confit!” High praise, as that was her favorite dish ever before this. 😀

Everyone has their own way of doing this, this is what works for me. Feel free to adjust any recipe to your own preferences, as they are general guidelines only.

Everyone can figure out the mashed potatoes part with a simple internet search, so I’m just going to roll with the brined pork.

You will need:

(Brine stage)

A pork roast

1 gallon of cold water

1 dry measure cup of kosher salt

A big fricking mixing bowl and lid/plate to cover it. OR Aluminum foil.

A wooden spoon

Instructions:

This is going to brine for ten (10!) hours. Plan accordingly.

Pour the gallon of cold water into the mixing bowl, then dump the cup of kosher salt into it.

Stir until it’s 100% dissolved. If you have a kid who likes to help you cook, they’re great for this whilst you do other prep. Just have them stir SLOWLY.

Take something slim and pokey (a meat thermometer works great for this) and perforate the hell out of your pork roast on all sides, penetrating at least halfway though the meat. If you don’t have at least 50 holes on each main side of the roast, you aren’t trying hard enough.

Cover the top with lid/plate/aluminum foil.

Wait 10 hours. If you eat supper at 5 PM, yer gonna want to brine this about 6 AM.

You’ll need that extra hour for other prep.

(Cooking stage)

A 10” skillet or frying pan

Canola oil

Kosher salt

Cracked black pepper.

A roasting pan and roasting rack (A cookie sheet and cooling rack inside the cookie sheet work great for this!)

Preheat the oven to 350 degrees Fahrenheit/177 degrees Celsius.

Coat the bottom of your frying pan in a thin layer of canola oil, and set to medium high.

Heat until the oil reaches the smoke point.

Put some paper towels down on a cutting board.

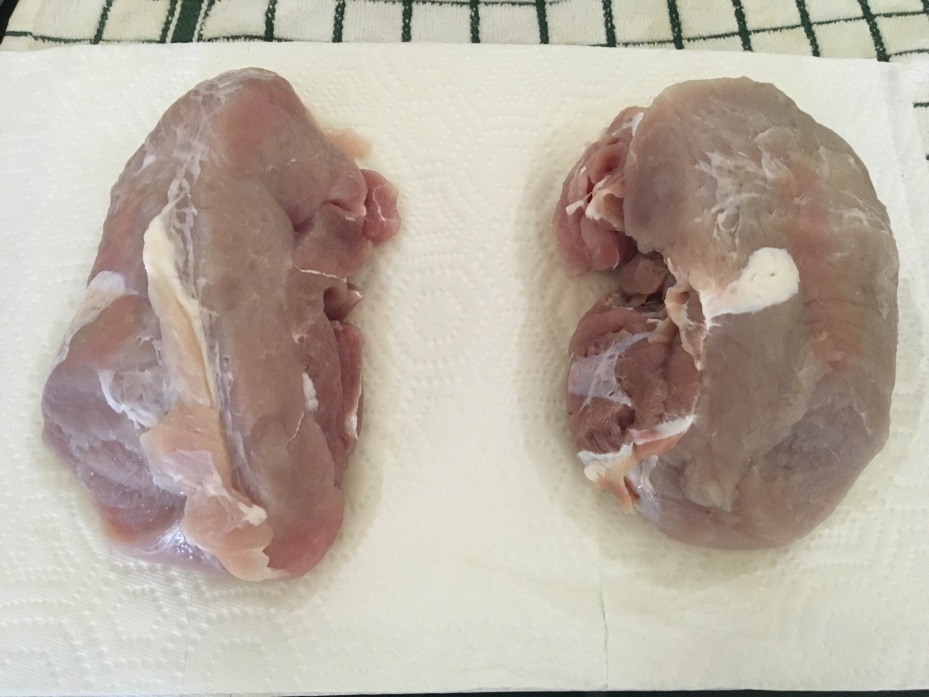
Pull the roast out of the brine, rise thoroughly in cold water, then place on the paper towels, and pat dry with other paper towels. Move the roast to a plate to stage it, and replace the now soaked paper towels on the cutting board with new ones, and replace the roast on the cutting board on the new paper towels.

Let the roast set for 1 hour to come to room temperature. This is VERY important for even cooking and no weird under cooked spots in your roast.

(1 hour passes…)

Remove the paper towels from the roast, pat dry again with a new paper towel.
BPP_Set.jpg

Place the roast directly on the cutting board and season lightly with a dusting of kosher salt and cracked black pepper.

By now your oil should be hot and almost smoking.

Carefully put the roast into the pan and sear it. This will only take a few minutes. Flip it over and sear the other side.

(Searing the meat will lock in some of the moisture when you roast it, as well as make a lovely outer finish on the roast.)

When it’s seared, move the roast from the frying pan/skillet into the roasting pan and then into the oven it goes.

Depending on the size of the roast, you’ll need to adjust the cooking time.

The FDA changed their pork safety guidelines quite a few years ago from 160 to 145. I typically cook it to 150, though that may be more than necessary. It’s lovely at 135 too.

We’ve all been eating overcooked tough pork all our lives, and it’s such a wonderful meat when properly prepared.

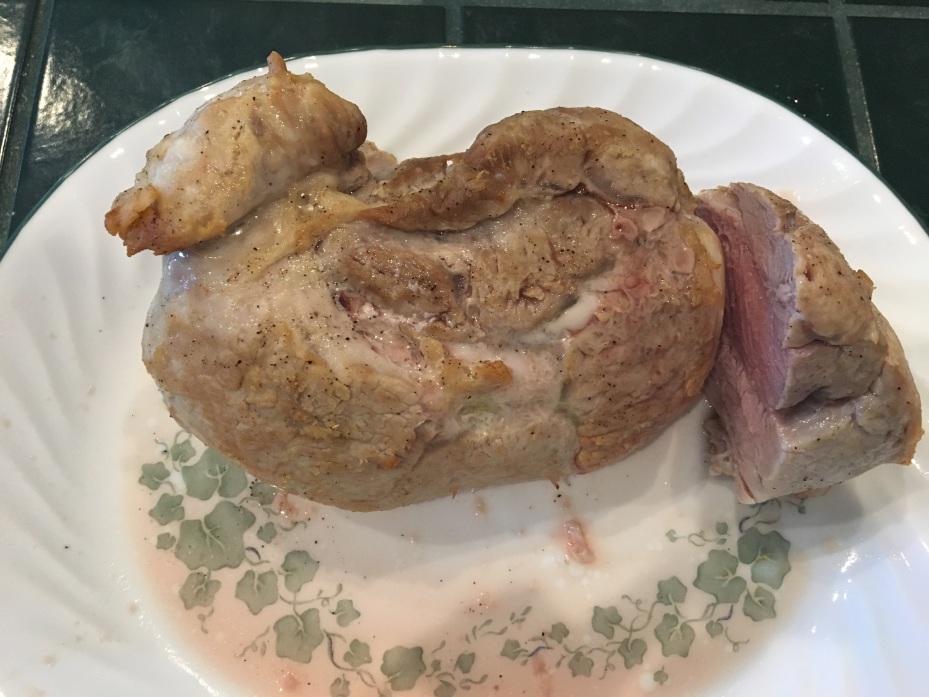
I made two roasts and one was significantly smaller than the other. The smaller was done at 35 minutes, the larger at about 50 minutes, with an internal temp of 150. Be sure to stick the thermometer into the largest portion of the meat.
BPP_Done.jpg

It’s pink, and it’s supposed to be! It’s also tender, juicy, and delicious. As long as your meat thermometer read 145 degrees, you are 100% safe. Enjoy pork as it was meant to be enjoyed… juicy and delicious.

Plate and enjoy!

Or, if you’re like my daughter, have fun with your pork and potatoes!
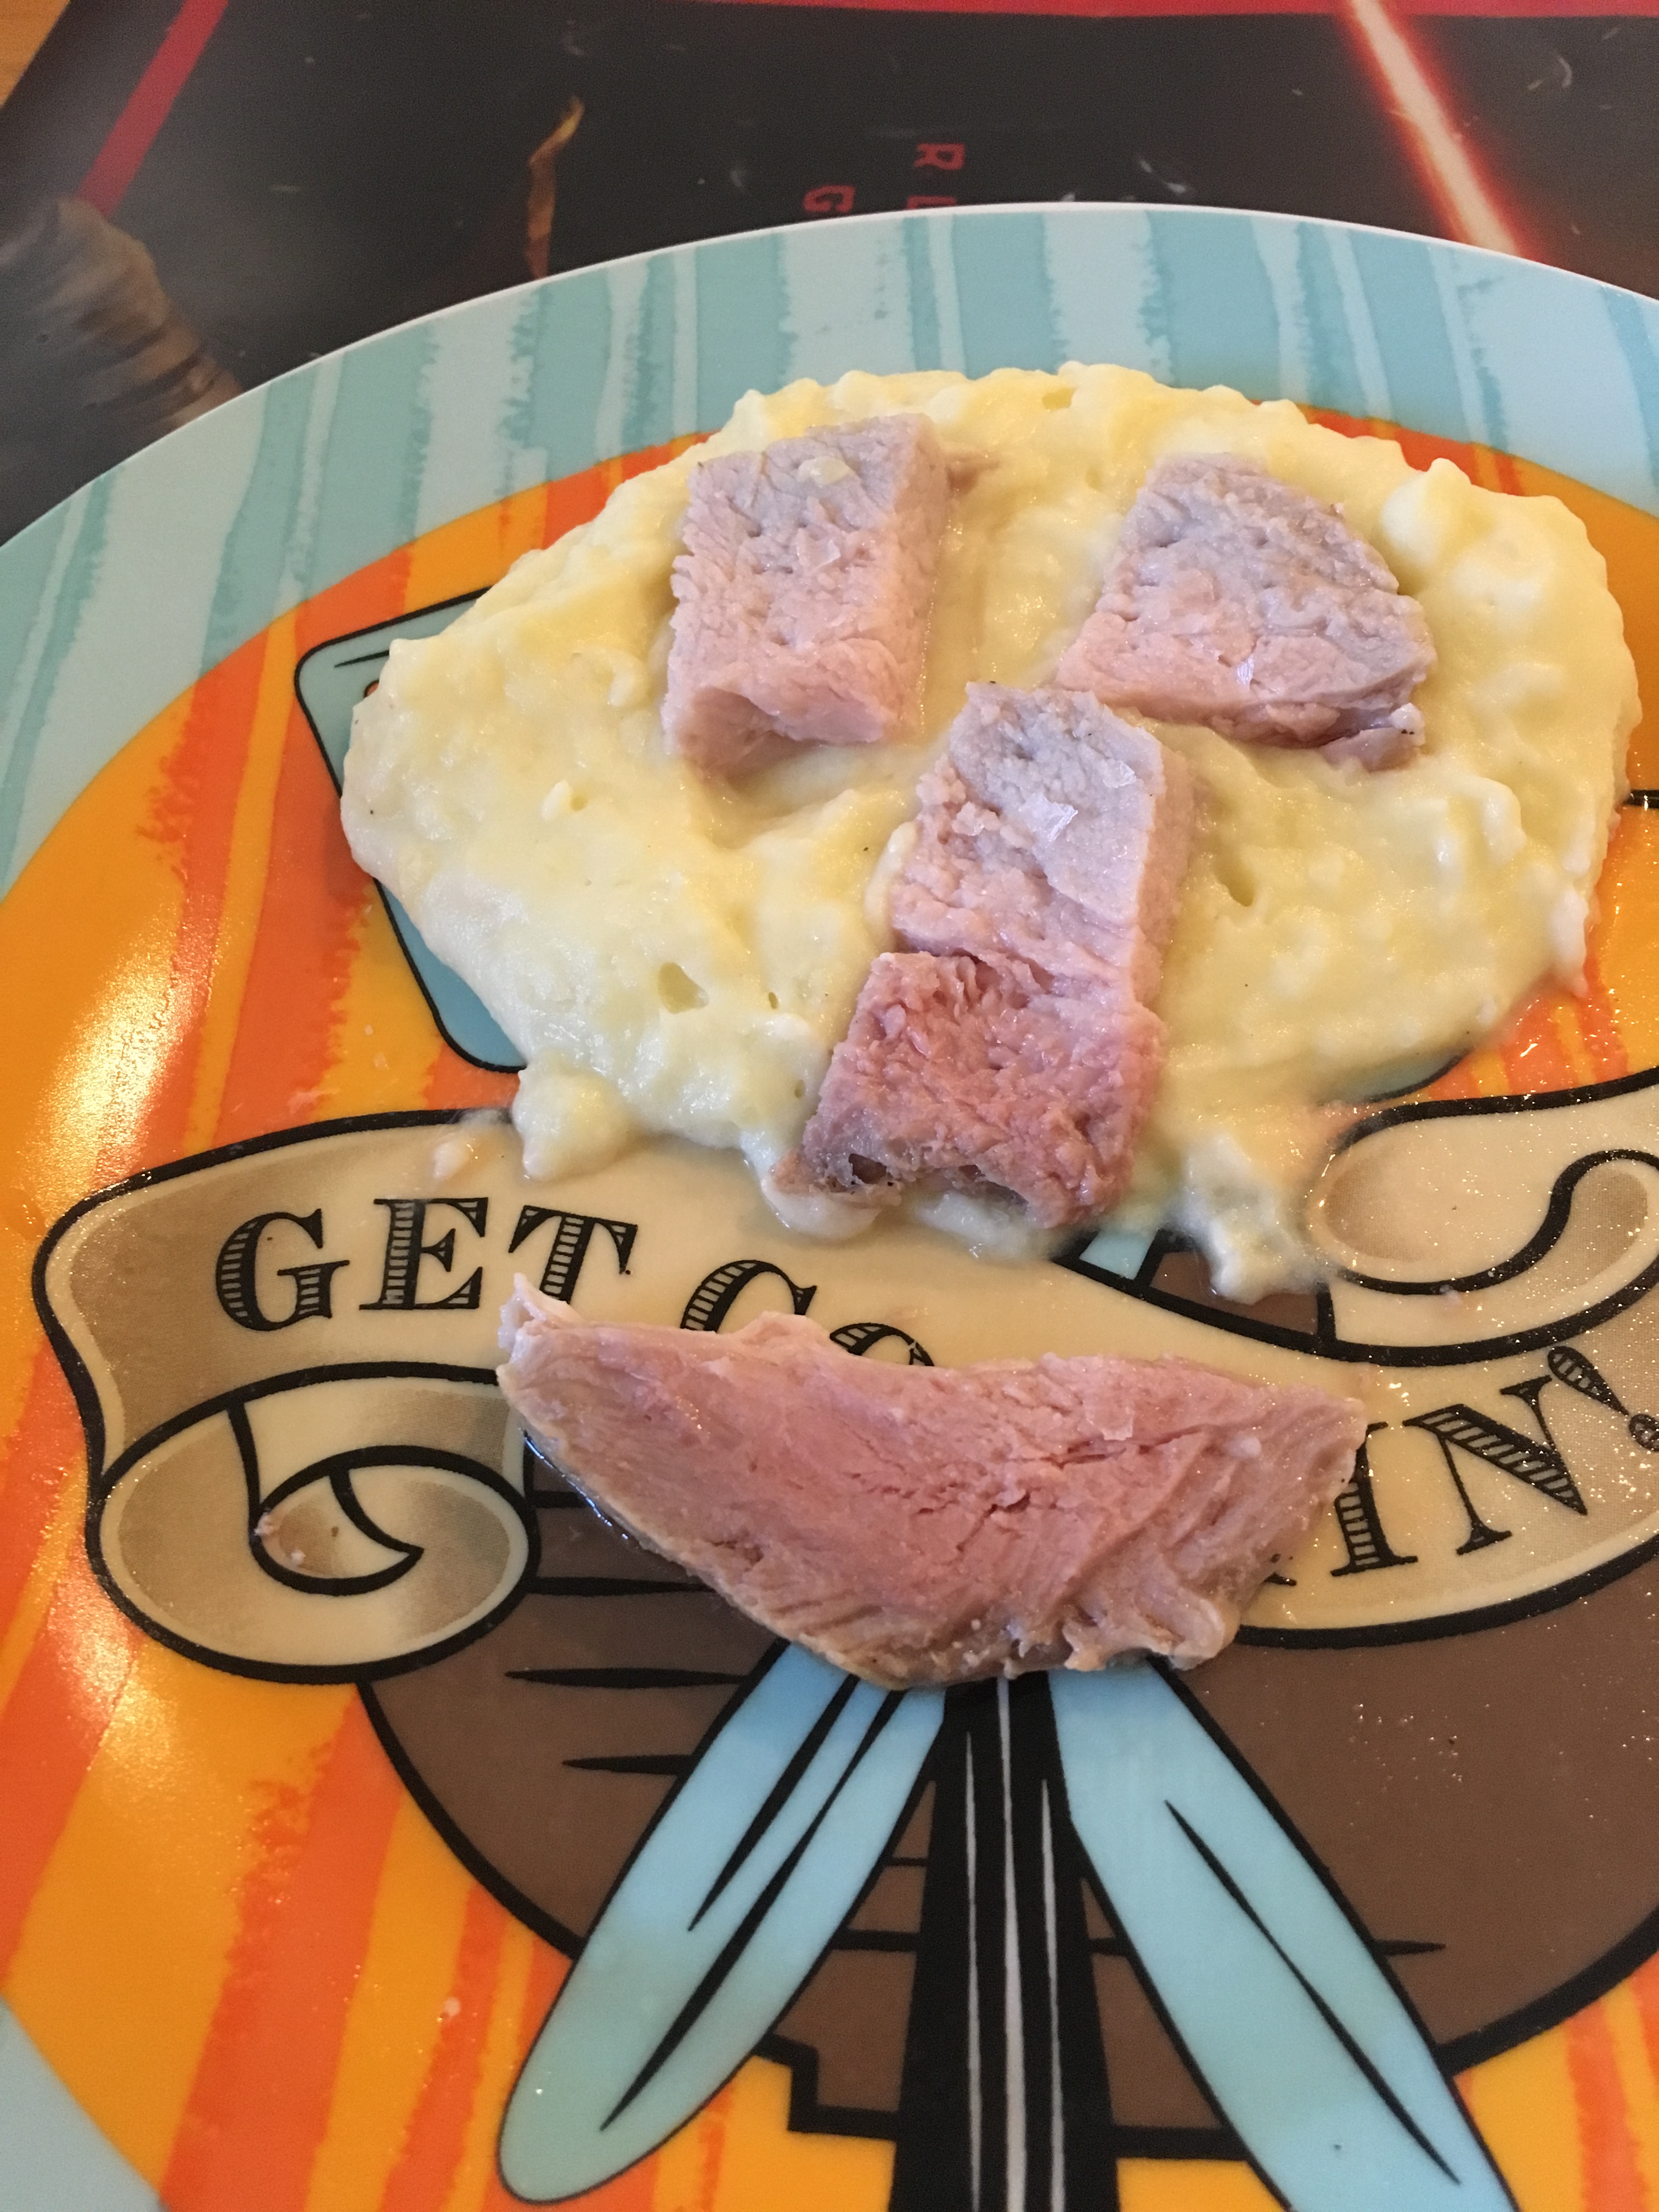
BPP_Skull.jpg

More to come soon!

As always, I can be reached at Wildcookery@yahoo.com
Categories: How To, Modern Cooking, Recipes, Uncategorized, Wild Cookery | Tags: , , , , | Leave a comment

Just Peachy

We had a lovely 4th of July. We went over to the inlaws for the day, and Dad bought some fireworks. The kiddos were very excited and insisted on picking out which one was to be shot off next.

An old family friend of theirs, a lady from Gambia stopped over for the celebration and to watch the fireworks.

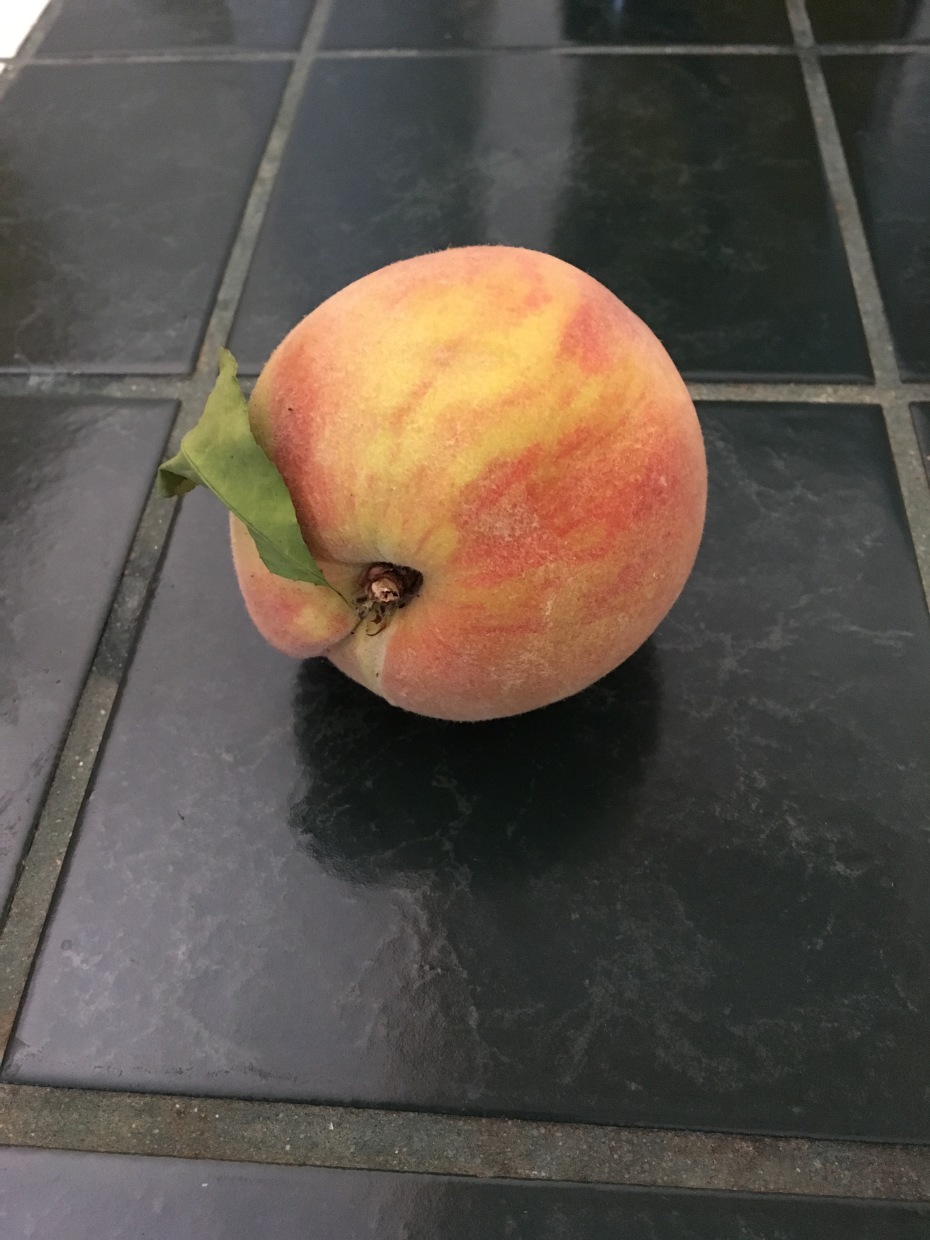
She has fruit trees at her house and brought us something I hadn’t had in over 20 years… fresh, off the tree PEACHES!

Peach

The kind lady also extended the invitation that I could go over and pick some more off of the tree, if I so desired. If I can find a way to store them in my extremely limited storage space, I may take her up on the offer, as they are quite delicious.

Huzzah for peaches!

Categories: Uncategorized, Wild Cookery | Tags: , , , , , | Leave a comment

Not So Wild Cookery

So there I was browsing some various links and blogs, and I came across several other cooking/food style blogs.

I’m always up for a new recipe, or learning a new way to prepare something, so I figured, what the hell, let’s see what these folks have to offer.

Pizza with ‘tofu’ crust. Ick. (Do you have any idea how seriously toxic this unfermented tofu shit is?)

Some ‘chili’ made with stuff out of a CAN. Gag.

And a recipe made to ‘mimic’, of all unholy things, Chicken McNuggets. WTF?!?

And I’m thinking to myself… Ye GODS who eats this toxic rot?

Americans, that’s who. Maybe even YOU. (God bless ye, ye poor, poor souls.)

Diddle me blind and call me Lucy, but we need to seriously revamp what we consider ‘food’ in this country.

Maybe I can help change some of that for some people going forward, and get some folks interesting in doing some REAL Wild Cookery.

Here’s some videos I did quite a long time ago now, to help get ye started. They aren’t the highest quality productions, but they’re informative.

https://wildcookery.wordpress.com/videos/

Post Scriptum: I did see something I was actually impressed by on one blog though: http://www.mennonitegirlscancook.ca/2012/10/pear-tart.html

Mmm… pear tart. Ye get bonus points for not sucking! 🙂 Too bad I didn’t find this before my pear tree dropped all it’s pears. But then again, they were all small and hard as little cannonballs and made it into my morning oatmeal instead.  So all’s well that ends well.

Speaking of which, I’m running low on nommables. Time to make a wild food run tomorrow, weather permitting.

Categories: Baked Goods, Food Health | Tags: , , , , | 1 Comment